WordPress is one of the most user-friendly content management systems (CMS) for bloggers and website owners. Whether you’re writing your first post or publishing your hundredth, WordPress makes it easy to create, format, and manage blog posts. In this guide, we’ll walk you through how to create a new blog post in WordPress, step-by-step.
Step 1: Log in to Your WordPress Dashboard
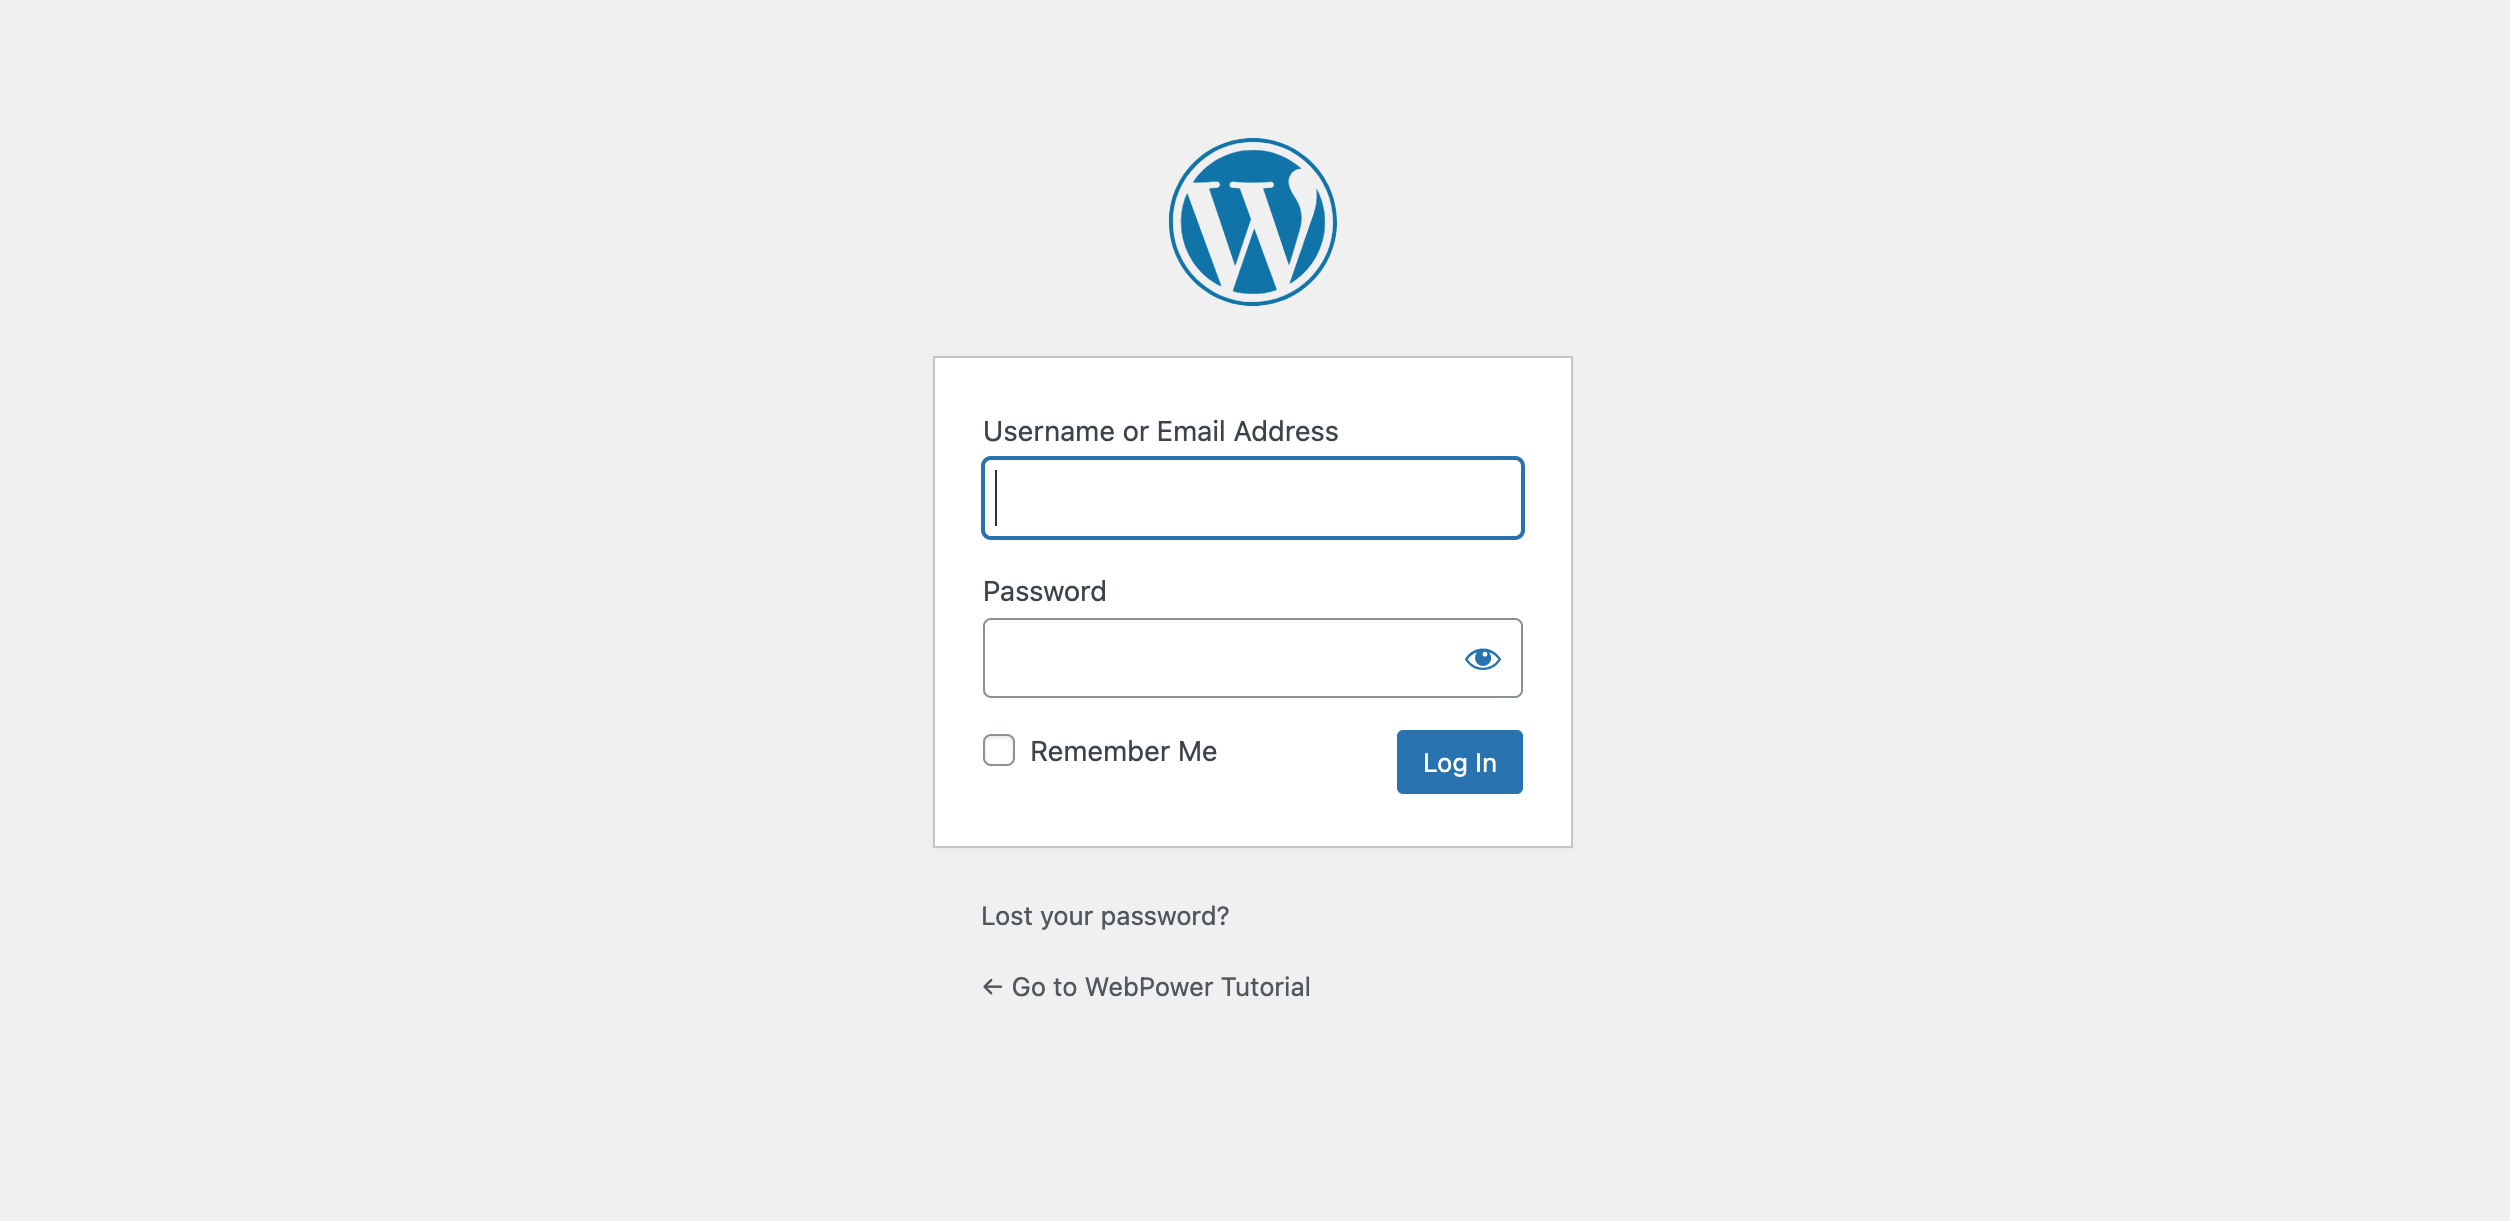
The first thing you need to do is log in to your WordPress site. Go to www.yourdomain.com/wp-admin, and enter your username and password.
Step 2: Navigate to “Posts” and Click “Add New”
Once you’re logged into your WordPress dashboard, look at the left-hand sidebar. Here’s what you need to do:
- Hover over Posts in the sidebar.
- Click Add New from the drop-down menu.
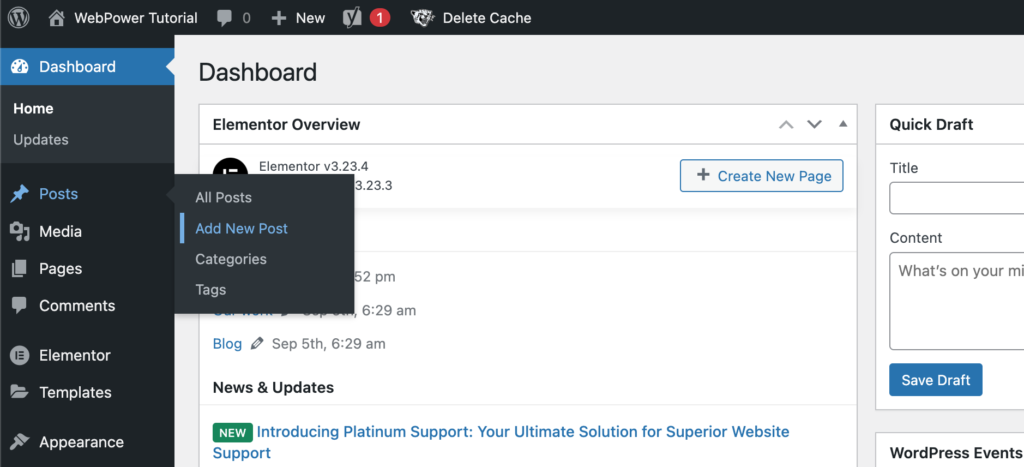
This will open the WordPress post editor, where you can create your new blog post.
Step 3: Add a Title for Your Blog Post
At the top of the post editor, you’ll see a field that says “Add title.” This is where you’ll enter the title of your blog post. Your title should be clear, engaging, and include relevant keywords for SEO.
Step 4: Write Your Content in the Post Editor
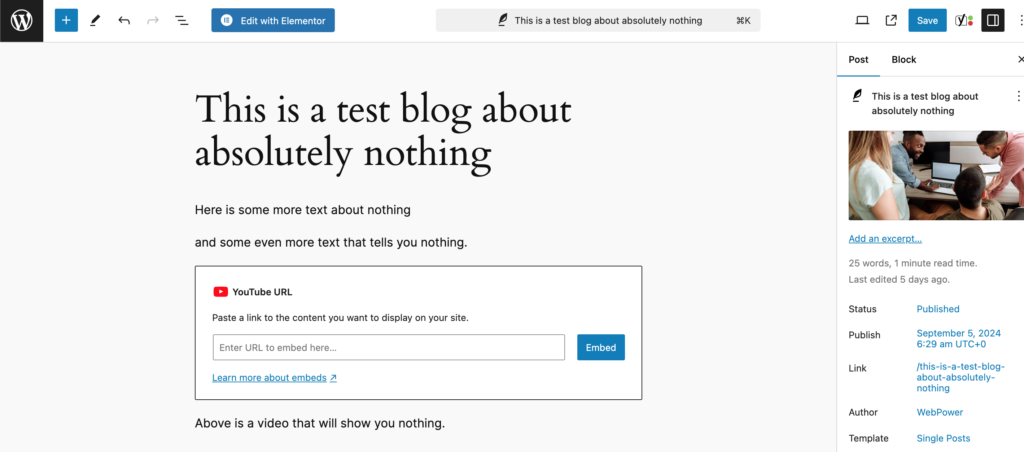
Below the title field is where you can start writing your blog post. WordPress uses the Gutenberg block editor, which allows you to add different types of content blocks to your post. These blocks can be used for text, images, videos, lists, and much more.
To start writing:
- Click the space below the title and start typing your content.
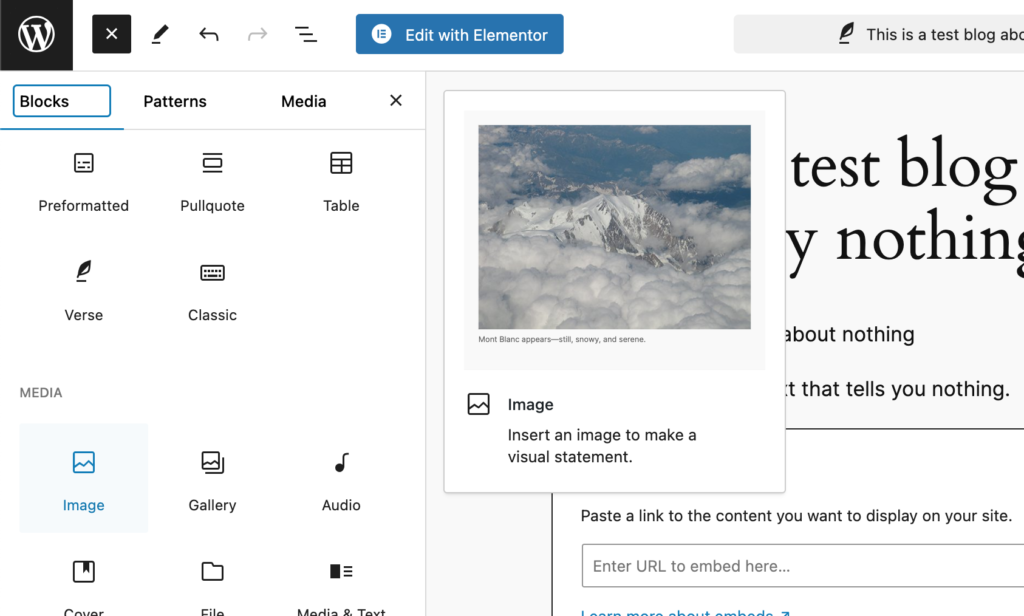
- To add different elements like headings, lists, or images, click the + button to the left of the content area to add a new block.
Formatting Your Content
You can easily format your text by using the toolbar that appears when you select a text block. Here, you can:
- Bold or italicize text
- Add headings to break up your content
- Insert quotes, bullet points, and numbered lists
Adding Media
To add images or videos to your post, click on the + icon, search for “Image” or “Video,” and upload the media from your computer, or insert from your media library.
Step 5: Set a Category and Tags
Categories and tags help organise your content and make it easier for readers to find related posts. In the Document settings on the right-hand side of the post editor:
- Click on Categories to choose or create a category for your post.
- Under Tags, add relevant tags that relate to the content of your post.
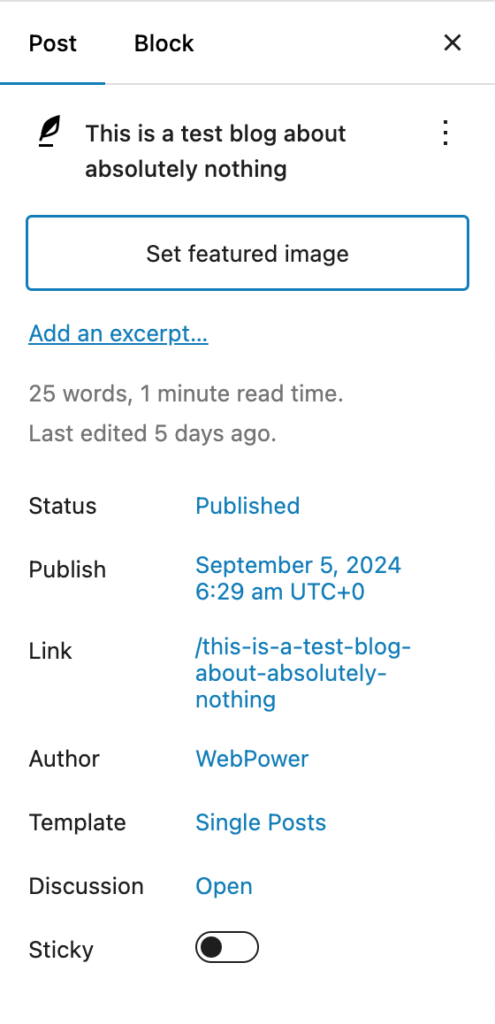
Step 6: Set a Featured Image
The Featured Image is the main image that represents your blog post. This is what will be displayed at the top of the post and as a thumbnail on your blog’s main page.
To add a featured image:
- Scroll down on the right-hand side to the Featured Image section.
- Click Set featured image.
- Choose an image from your media library or upload a new one.
Step 7: Configure Permalink and SEO Settings
Permalink
By default, WordPress will automatically create a permalink (URL) for your post based on the title. You can customise this URL by clicking on the Permalink section under the title and editing it.
Make sure your permalink is simple, includes keywords, and is easy to read.
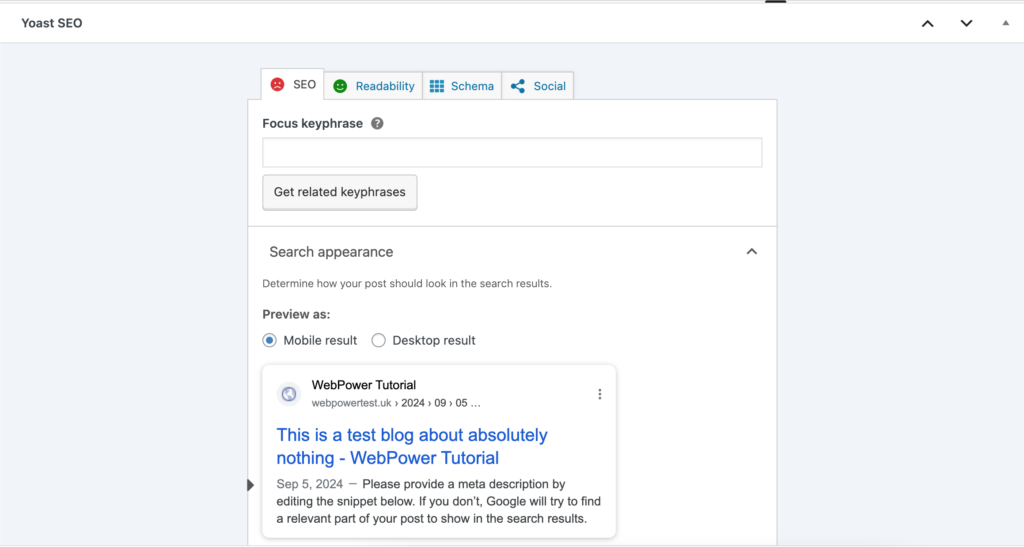
SEO Settings
If you have an SEO plugin like Yoast SEO or Rank Math installed, you’ll find an SEO settings section below the post editor. Here, you can optimise your post by:
- Adding a focus keyword
- Writing a meta description
- Setting a SEO title and adjusting readability
Step 8: Preview Your Post
Before publishing your blog post, it’s always a good idea to preview how it will look on your website.
- Click the Preview button at the top right of the post editor.
- A new tab will open, showing how your post will appear to visitors.
Step 9: Publish Your Blog Post
Once you’re happy with your post, it’s time to publish it. At the top right of the post editor, you’ll see a Publish button.
- If you’re ready to publish immediately, click Publish.
- If you want to schedule the post for later, click the Publish immediately link and set a future date and time for automatic publishing.

Step 10: Review and Share
After publishing your blog post, review it on your live website to ensure everything looks good. You can also share it on social media platforms to boost traffic.
Conclusion
Creating a blog post in WordPress is straightforward and user-friendly. By following these simple steps, you can start publishing high-quality content on your site in no time. Whether you’re sharing your thoughts, offering tutorials, or writing about industry news, WordPress gives you all the tools you need to make your content shine.
If you’re hosting your site with WebPower, our optimised hosting environment ensures your WordPress site runs smoothly, allowing you to focus on what matters most—creating great content!