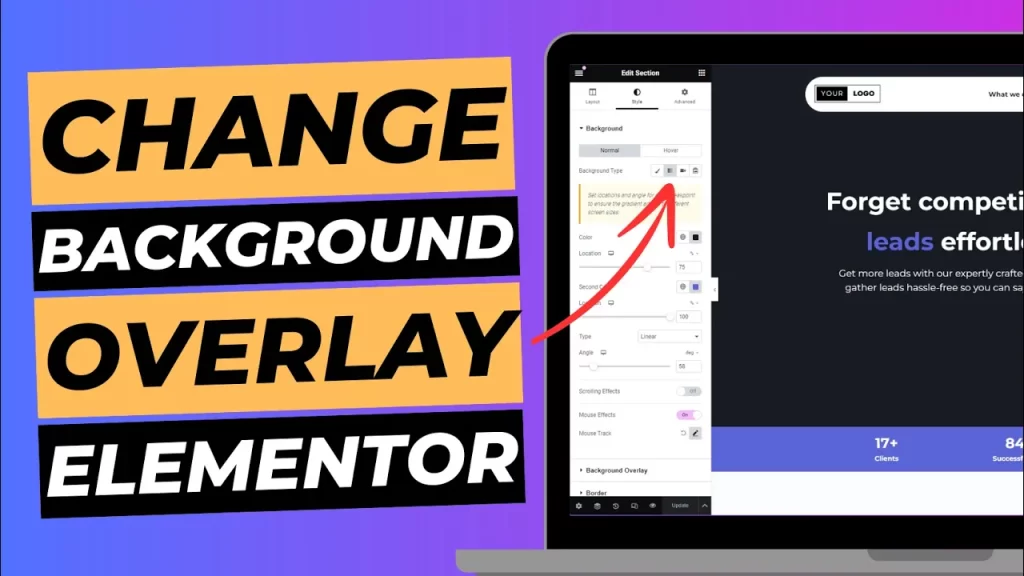
Customising your website’s appearance can significantly enhance its visual appeal and user experience. One effective way to achieve this is by adding or changing a background overlay in Elementor. Background overlays can add depth and style to your website’s sections, making your content stand out more effectively. In this guide, we’ll walk you through the process of adding or changing a background overlay in Elementor, step-by-step.
Why Use a Background Overlay?
Background overlays offer several benefits for your website:
Enhance Visual Appeal: Overlays can make your design elements pop by adding a semi-transparent colour or gradient layer over background images or videos.
Improve Readability: By adding a darker or lighter overlay, you can improve text readability against complex or busy backgrounds.
Create a Cohesive Look: Background overlays help maintain a consistent look and feel throughout your site, enhancing overall aesthetics.
How to Add or Change a Background Overlay in Elementor
Step 1: Open Elementor Editor
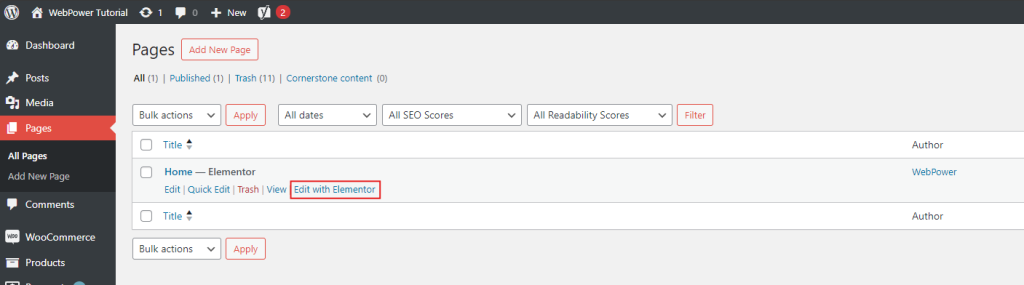
Start by logging into your WordPress dashboard and navigate to the page or post you want to edit. Click the “Edit with Elementor” button to launch the Elementor editor.
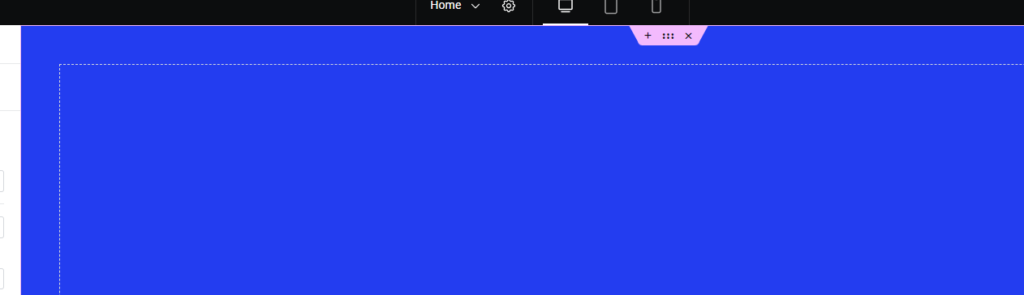
Step 2: Select the Section to Edit
In Elementor, your page is divided into sections, columns, and widgets. Hover over the section where you want to add or change the background overlay and click on the section’s handle (six dots) to open the section settings.
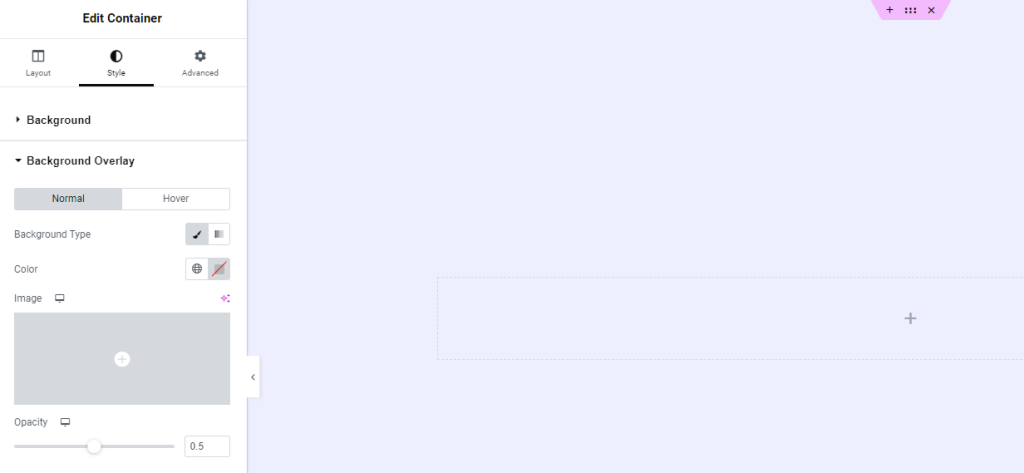
Step 3: Access the Background Settings
Once you’ve selected the section, navigate to the “Style” tab in the Elementor panel on the left-hand side. Here, you’ll find options to adjust the background settings for the selected section.
Step 4: Add or Change the Background Overlay
Under the “Background” settings, you’ll see options for “Background Type” (Classic, Gradient, or Video). To add or change a background overlay, locate the “Background Overlay” section within the “Style” tab.
Click on the “Background Overlay” tab to reveal the overlay settings. You can choose between a classic colour overlay or a gradient overlay:
Classic Colour Overlay: Click on the colour picker to select a colour for your overlay. Adjust the opacity slider to control the transparency level of the overlay. The opacity level determines how much of the background image or video will show through.
Gradient Overlay: If you prefer a gradient overlay, click on the “Gradient” option. Choose your gradient colours and adjust the gradient direction and type (linear or radial) to suit your design preferences. You can also set the opacity for each gradient colour stop.
Step 5: Apply and Save Your Changes
After setting up your desired background overlay, click the “Update” button at the bottom of the Elementor panel to save your changes. Preview your page to ensure the overlay appears as expected and complements your content effectively.

Best Practices for Using Background Overlays
Maintain Contrast: Ensure that your overlay provides sufficient contrast against the background image or video to enhance readability and visual appeal.
Use Subtle Overlays: For a more sophisticated look, consider using subtle overlays with low opacity to avoid overpowering the background image or video.
Test on Different Devices: Check how your background overlay looks on various screen sizes and devices to ensure it maintains its effectiveness across all platforms.
Conclusion
Adding or changing a background overlay in Elementor is a straightforward way to enhance the visual appeal of your website. By following the steps outlined in this guide, you can easily customise your page sections to create a more engaging and visually appealing experience for your visitors. Remember to experiment with different colours and gradients to find the perfect overlay that complements your website’s design.