Elementor is one of the most popular and powerful WordPress page builders, offering a drag-and-drop interface to create beautiful, professional-looking websites without writing a single line of code. Whether you’re a beginner or a seasoned WordPress user, Elementor makes designing web pages a breeze. In this quick guide, we’ll show you how to install and activate Elementor in just one minute.
What Is Elementor?
Elementor is a visual page builder plugin for WordPress that allows you to design and customise your website with a live editor. You can create complex layouts, add widgets, and customise every part of your site without needing to know HTML, CSS, or JavaScript. The basic version is free and packed with features, while the Pro version offers even more advanced tools.
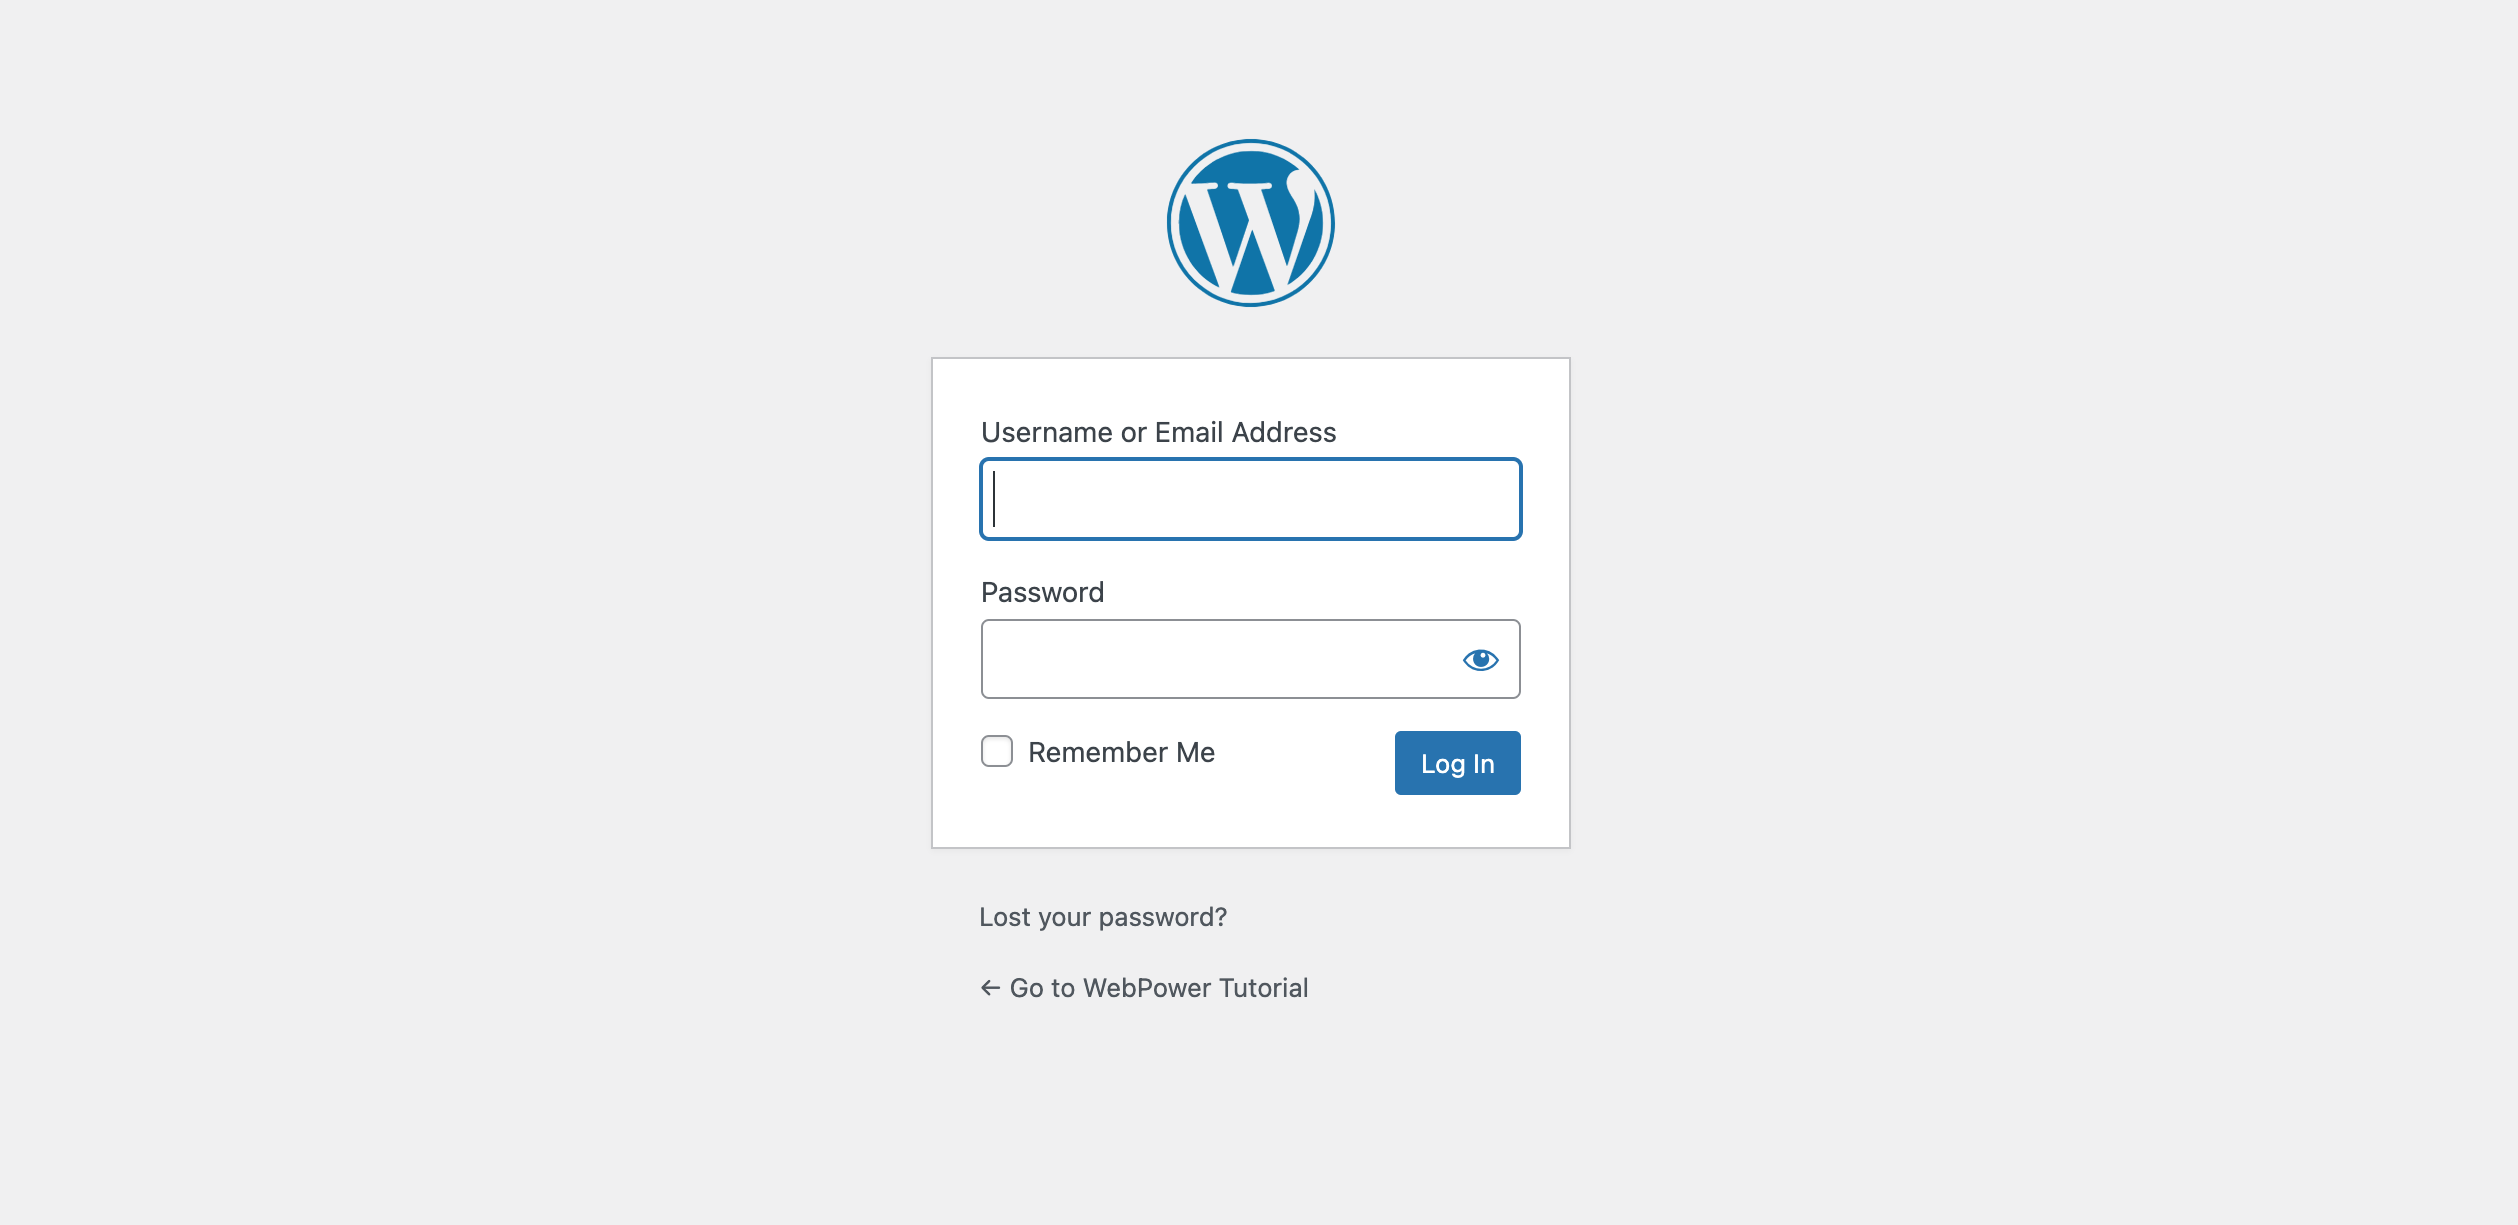
Step 1: Log in to Your WordPress Dashboard
To start the installation process, first, log in to your WordPress dashboard by going to www.yourdomain.com/wp-admin.
Step 2: Navigate to Plugins > Add New
Once you’re logged into your WordPress dashboard, follow these steps:
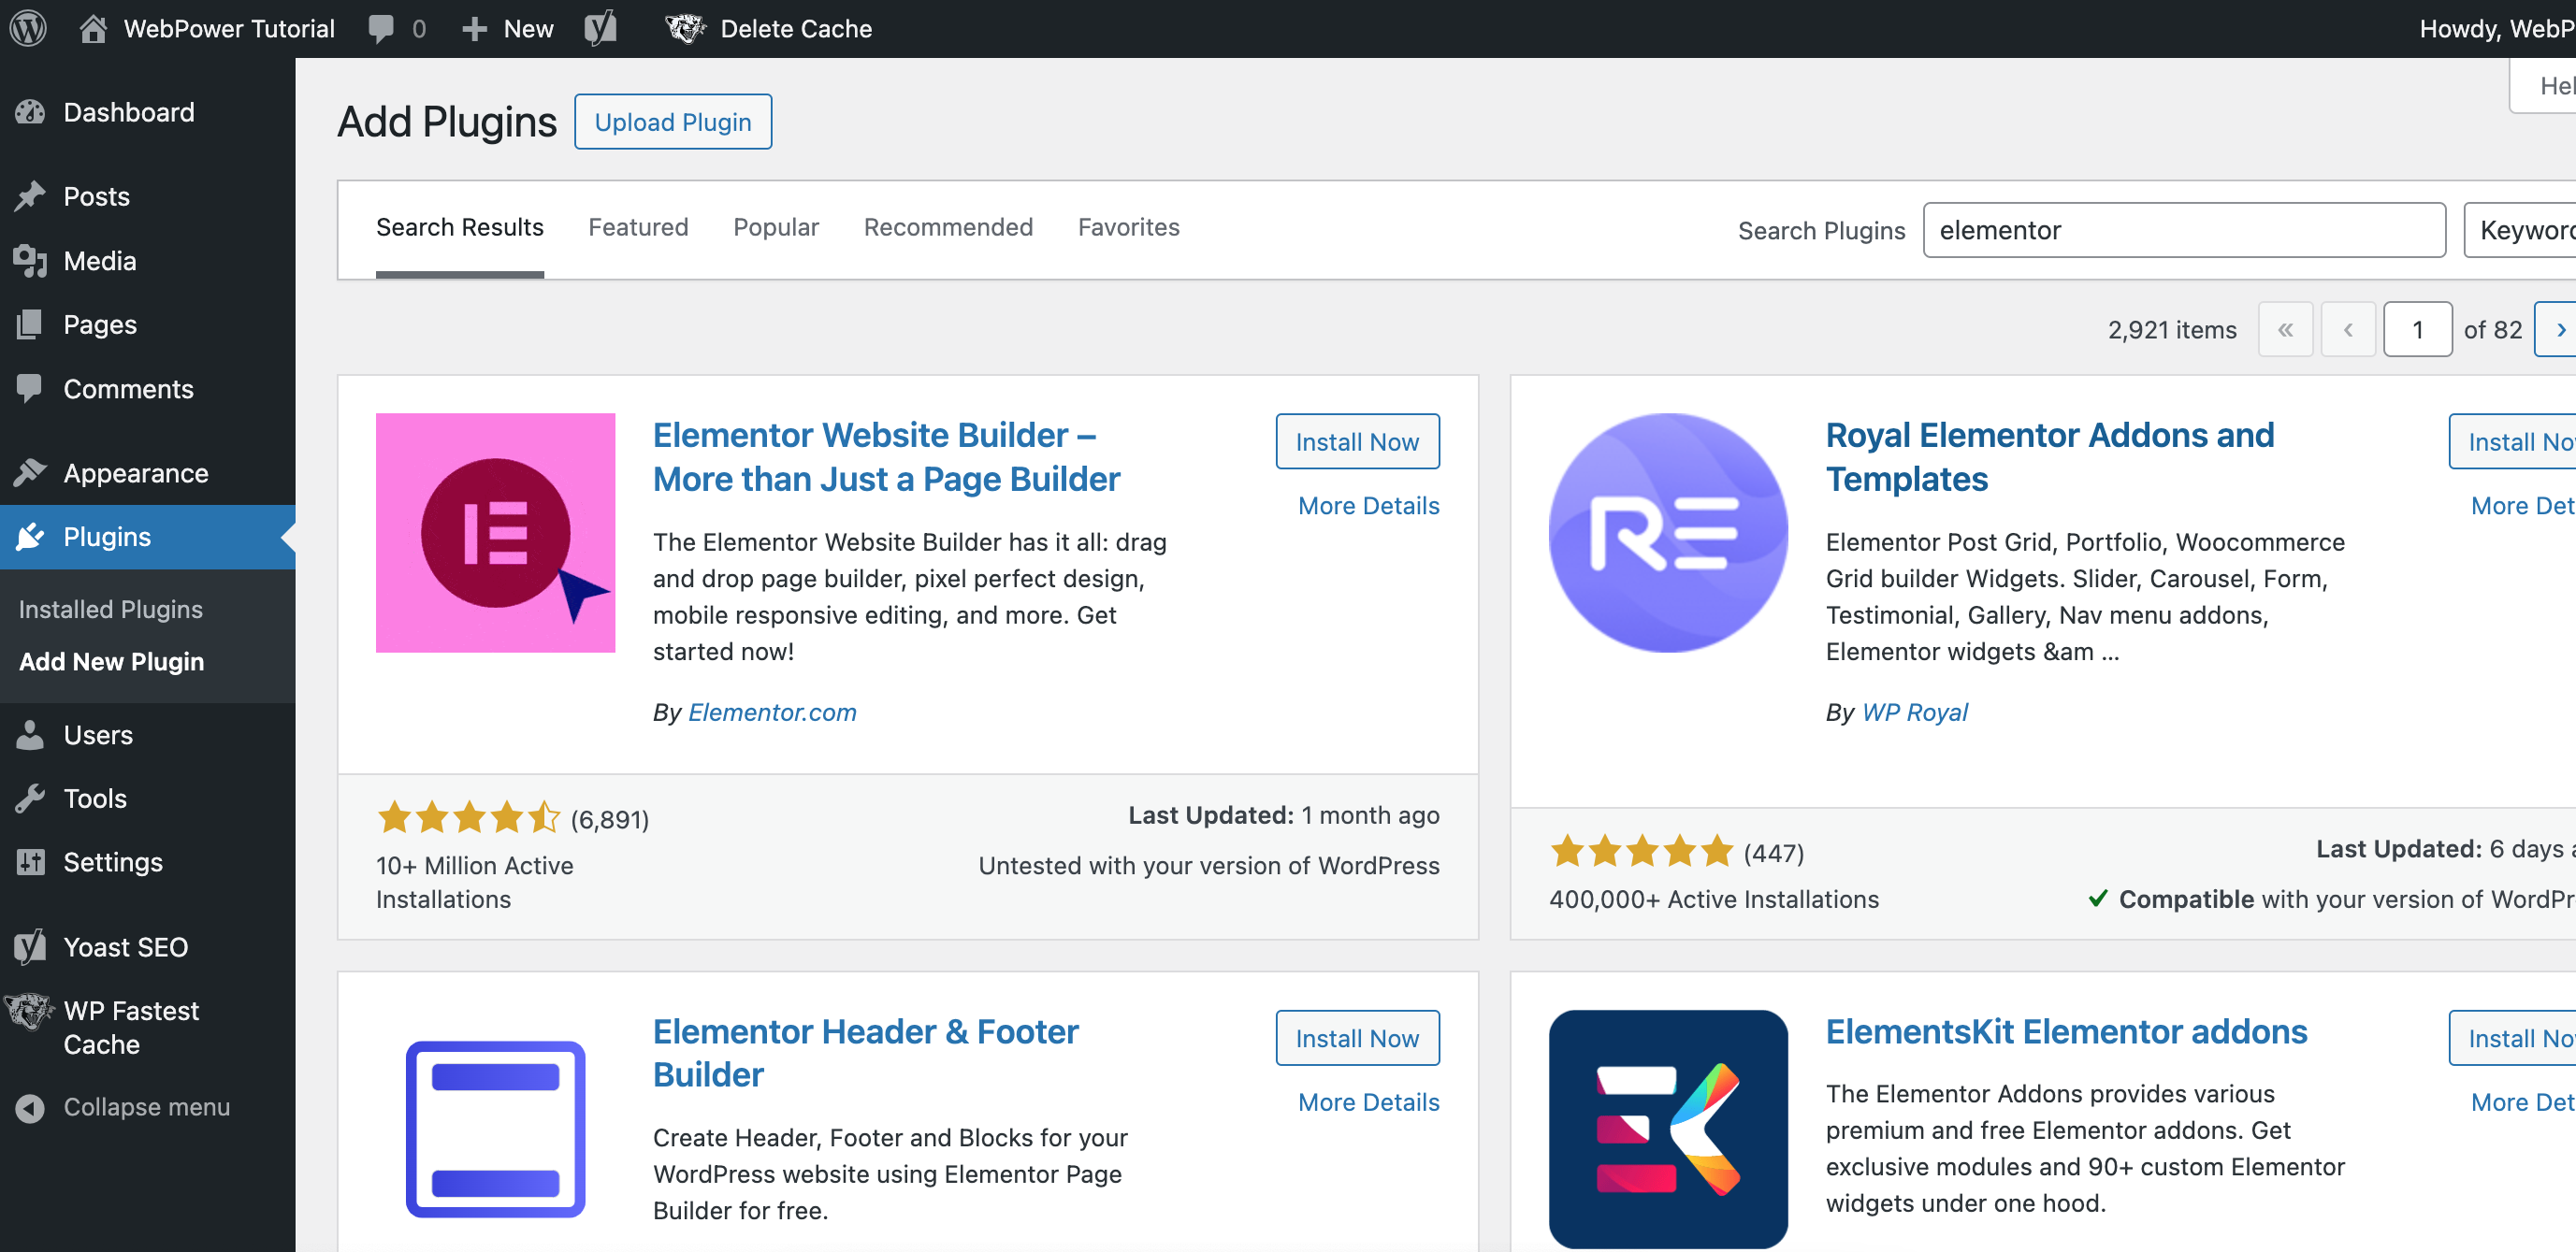
- On the left-hand menu, hover over “Plugins” and click on “Add New.”
- In the “Add Plugins” page, you’ll see a search bar on the top right.
Step 3: Search for Elementor
In the search bar, type “Elementor” and press Enter. You’ll see the Elementor Page Builder plugin listed in the search results.
Step 4: Install Elementor
Next to the Elementor plugin, you’ll see an “Install Now” button. Click on it to start the installation process.
WordPress will automatically download and install the Elementor plugin on your site. This process usually takes a few seconds.
Step 5: Activate Elementor
Once the installation is complete, the “Install Now” button will change to “Activate”. Click on the “Activate” button to enable Elementor on your WordPress site.
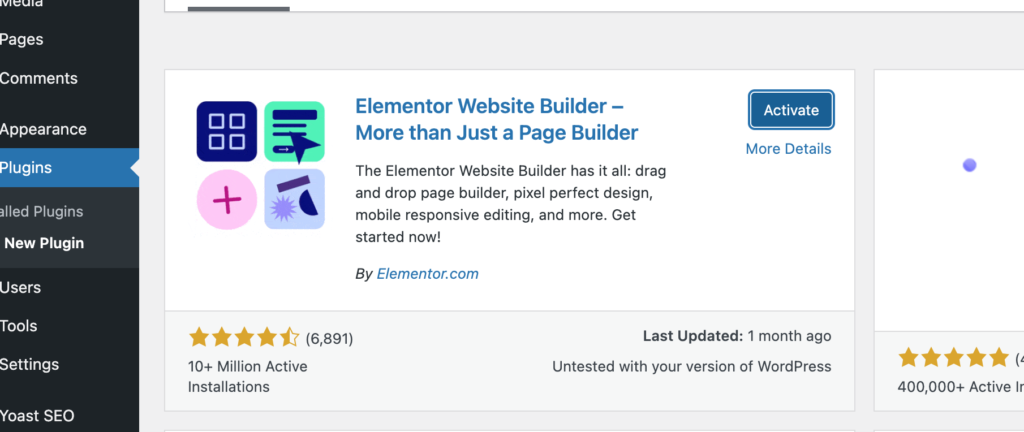
After activation, you will be redirected to the Elementor setup page, where you can start using the plugin to design your pages.
Step 6: Start Using Elementor
Now that Elementor is installed and activated, you can start building your pages. To begin, simply go to any existing page or create a new one, and click the “Edit with Elementor” button.

This will open the Elementor live editor, where you can drag and drop elements, customise widgets, and design your website in real time.
Conclusion
And that’s it! In just one minute, you’ve successfully installed and activated Elementor on your WordPress website. Now you can start creating visually stunning and highly functional web pages with ease. Whether you’re building a personal blog, a business website, or an online store, Elementor offers all the tools you need to bring your vision to life.
If you’re hosting your WordPress site with WebPower, you’ll benefit from our fast, reliable hosting environment, ensuring Elementor runs smoothly and efficiently.

