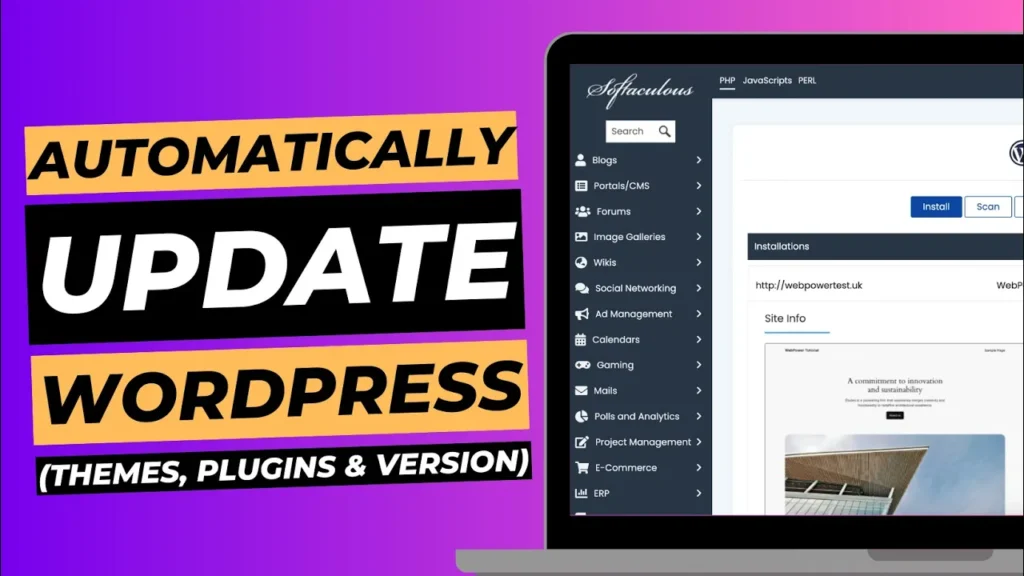
Keeping your WordPress site up to date is essential for security, performance, and compatibility. Regular updates ensure that your site runs smoothly and is protected against potential vulnerabilities. However, manually updating your WordPress theme, plugins, and core version can be time-consuming. Fortunately, you can automate this process using the Softaculous app, making it easier to manage your site without constant manual intervention.
In this guide, we’ll walk you through how to set up automatic updates for your WordPress theme, plugins, and core version using Softaculous. This method ensures your website stays up to date with minimal effort on your part.
Why Automatic Updates Are Important
Before diving into the setup process, let’s quickly cover why automatic updates are crucial for your WordPress site:
- Security: Outdated themes, plugins, and WordPress versions are common targets for hackers. Automatic updates help close security loopholes as soon as they’re discovered.
- Performance: Updates often include performance enhancements that can speed up your site and improve user experience.
- Compatibility: New WordPress versions may introduce changes that require theme or plugin updates to maintain compatibility. Automating updates ensures everything works seamlessly together.
Step 1: Access Softaculous in cPanel
To begin, you’ll need to access the Softaculous app through your hosting control panel (cPanel). Softaculous is a popular auto-installer that simplifies the process of managing and updating your WordPress site.
How to Access Softaculous:
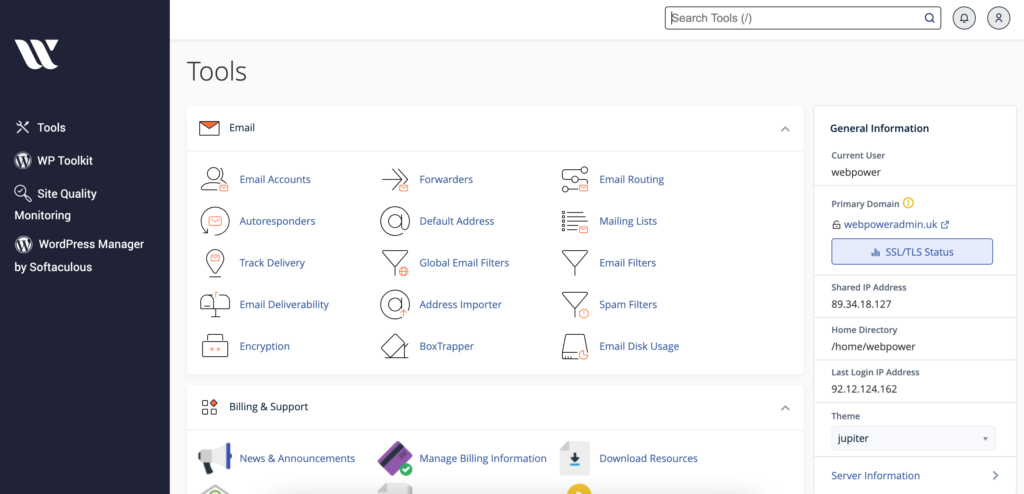
- Log in to Your WebPower Account: Start by logging into your WebPower hosting account.
- Open cPanel: Once logged in, navigate to your cPanel dashboard. You can typically find this option in the main account dashboard.
- Find Softaculous: In cPanel, scroll down to the “Software” section and click on “Softaculous Apps Installer.”
Step 2: Locate Your WordPress Installation
Once you’re in Softaculous, you need to locate your WordPress installation to configure the auto-update settings.
How to Locate Your WordPress Installation:
- Click on WordPress: In the Softaculous dashboard, you’ll see a list of available scripts. Click on the WordPress icon to view your installations.
- Manage Installations: Next, click on the “Installations” tab at the top of the page. This will display a list of all WordPress installations associated with your hosting account.
- Choose Your Site: Locate the WordPress site you want to configure for automatic updates and click on the pencil icon (Edit Installation) next to it.
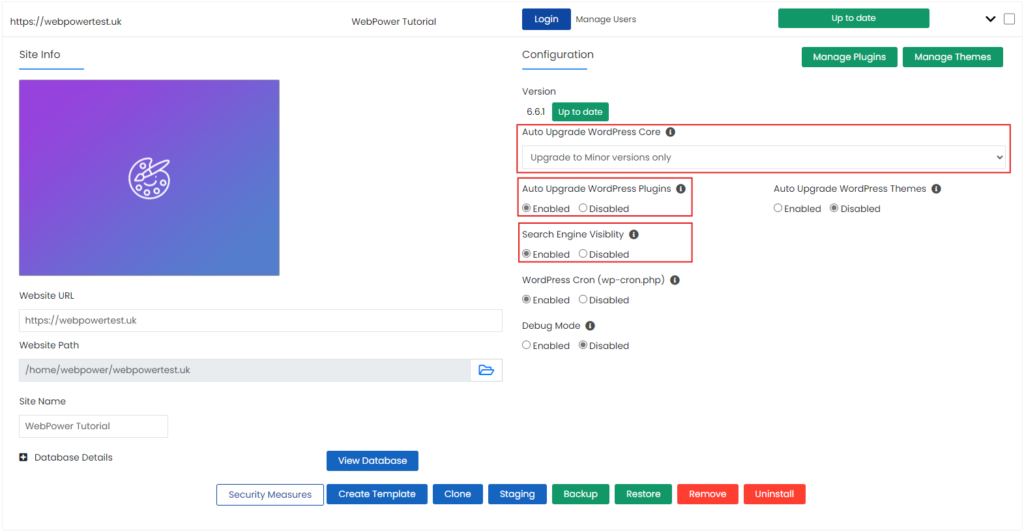
Step 3: Enable Automatic Updates
Now that you’ve found your WordPress installation, it’s time to enable automatic updates for your themes, plugins, and core version.
How to Enable Automatic Updates:
- Scroll to Automatic Update Settings: In the Edit Installation page, scroll down until you find the “Automatic Update” section.
- Enable Core Version Updates: To automatically update your WordPress core version, select the option that says “Auto Upgrade WordPress Core.” This ensures that your site always runs the latest version of WordPress.
- Enable Plugin Updates: To keep your plugins up to date, select “Auto Upgrade WordPress Plugins.” This option automatically updates all plugins installed on your site.
- Enable Theme Updates: Similarly, select “Auto Upgrade WordPress Themes” to ensure your themes are always up to date.
- Set Backup Preferences: While automatic updates are convenient, it’s important to have a safety net. Scroll down to the “Backup Location” section and ensure that backups are set to run before any updates. This way, you can easily restore your site if something goes wrong during an update.
- Save Changes: Once you’ve configured all settings, scroll to the bottom of the page and click “Save Installation Details.”
Step 4: Verify Automatic Updates Are Working
After setting up automatic updates, it’s a good idea to verify that everything is working as expected.
How to Verify Automatic Updates:
- Monitor Update Notifications: Check your email for notifications from Softaculous confirming that updates have been successfully applied. You should receive these after every update.
- Log in to WordPress: Occasionally, log in to your WordPress dashboard and navigate to the Updates section (Dashboard > Updates) to confirm that your site is running the latest versions.
- Check Site Functionality: After updates, visit your website and test its functionality to ensure everything is working smoothly.
Conclusion
Keeping your WordPress site up to date is vital for maintaining its security, performance, and compatibility. By using Softaculous to enable automatic updates for your themes, plugins, and core version, you can save time and effort while ensuring your site is always up to date.
At WebPower, we’re committed to making your WordPress experience as seamless as possible. With automatic updates configured, you can focus on creating content and growing your site, knowing that your WordPress installation is secure and up to date.
If you have any questions or need further assistance with your WordPress site, our support team is here to help.

