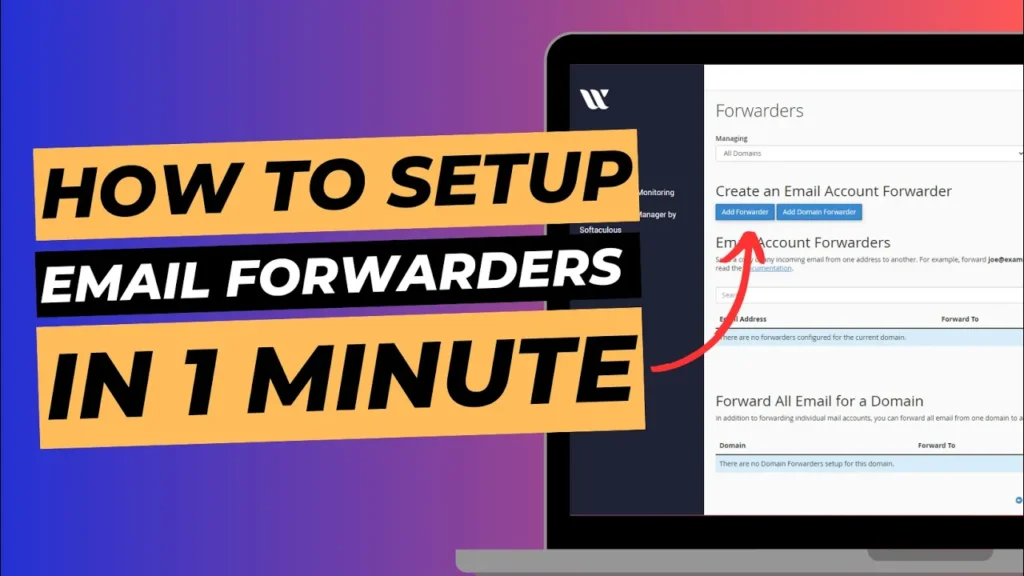
Managing emails for your website can be a hassle, but cPanel simplifies this task with its Email Forwarders feature. Setting up email forwarders allows you to automatically redirect emails sent to one email address to another. This is particularly useful if you want to streamline your inbox by forwarding emails from different accounts to a primary address, or if you wish to redirect customer inquiries to specific departments or team members.
In this guide, we’ll walk you through the process of setting up email forwarders in cPanel, step by step, so that you can effectively manage your emails with ease.
What Are Email Forwarders?
An email forwarder automatically redirects emails sent to one address to another. You don’t have to check multiple inboxes when you have forwarders in place. For instance, if you have separate emails like sales@yourdomain.com and support@yourdomain.com, you can have all incoming emails forwarded to a personal or business address like info@yourdomain.com. This ensures that you never miss an important email, even if it’s sent to a different address.
Benefits of Setting Up Email Forwarders
- Centralised Inbox Management: You don’t need to log into multiple accounts to check emails, as everything will arrive in one inbox.
- No Need for Additional Mailboxes: You won’t have to create new mailboxes for every email address, saving storage space.
- Departmental Organisation: Forward emails to specific team members based on the purpose of the email, such as support, sales, or enquiries.
- Easy to Manage: Setting up forwarders in cPanel is straightforward and can be done in minutes.
How To Setup Email Forwarders In cPanel
Before you start, make sure that you have access to your cPanel account, which is typically provided by your hosting provider, such as WebPower.
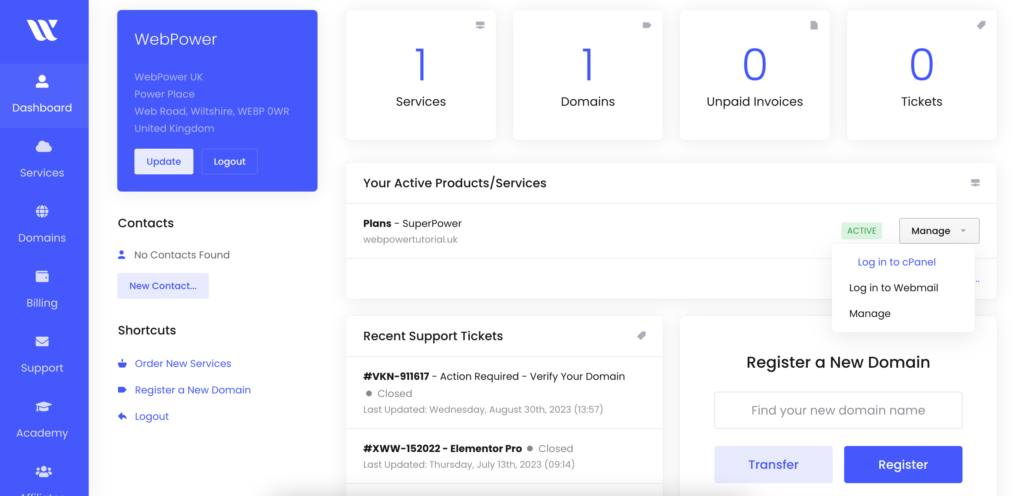
Step 1: Log into Your cPanel Account
To begin, log into your cPanel account by navigating to your domain.com/cpanel or accessing it through the WebPower dashboard. Use your username and password to log in. Once logged in, you’ll be taken to the cPanel dashboard.
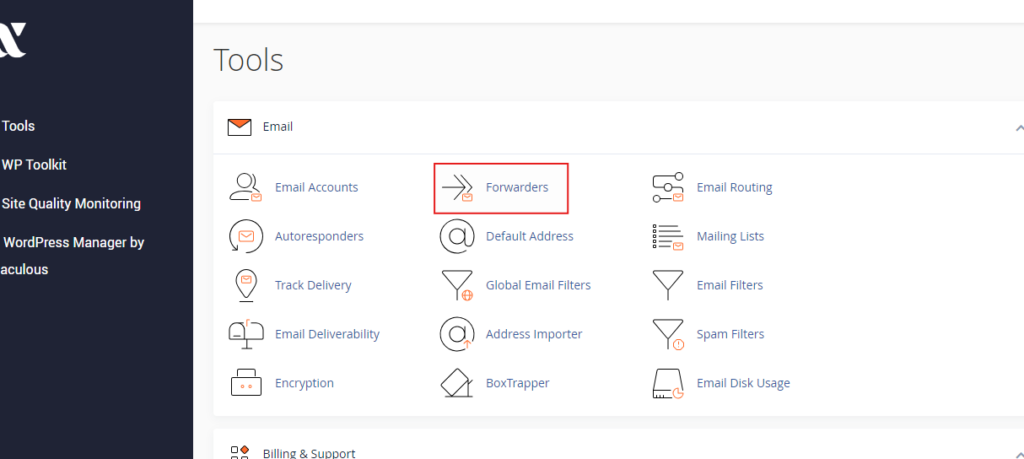
Step 2: Navigate to the Email Section
Once you’re inside cPanel, scroll down until you find the Email section. Within this section, click on Forwarders. This is where you’ll manage all email forwarding rules for your domain.
Step 3: Add a New Email Forwarder
On the Forwarders page, click the button that says Add Forwarder. This will take you to a new screen where you can set up the forwarding details.

Step 4: Enter the Email Address You Want to Forward
In the Address to Forward field, enter the local part of the email address that you want to forward. For example, if you want to forward sales@yourdomain.com, simply type “sales” in the field. Make sure to select the correct domain from the dropdown list next to the input field.
Step 5: Enter the Destination Email Address
Next, in the Destination section, select the option labeled Forward to Email Address. In the box provided, enter the email address where you want the emails to be forwarded. This can be any email address, including a personal Gmail or Yahoo account, or another email associated with your domain.

Step 6: Click on Add Forwarder
Once you’ve entered the destination email address, click on the Add Forwarder button. cPanel will then confirm that the forwarder has been set up, and all emails sent to your specified address will now be redirected to your chosen destination.
Managing Your Email Forwarders
You can create multiple email forwarders to forward emails to various addresses. For example, you could set up different forwarders for sales, support, and general inquiries, all directing emails to specific team members.
If you ever need to remove a forwarder, simply return to the Forwarders page in cPanel, find the forwarder you wish to delete, and click Delete next to it. This will stop any further emails from being forwarded.
Advanced Forwarding Options
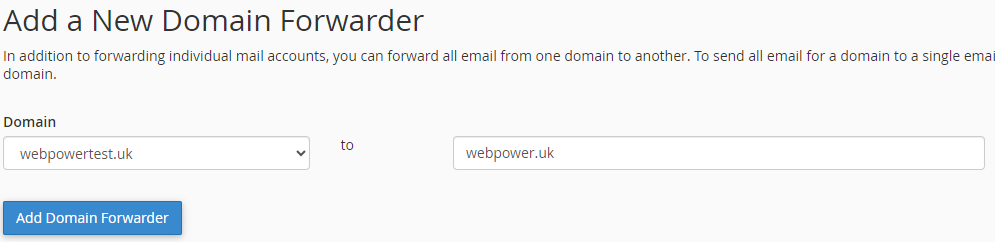
In addition to basic email forwarding, cPanel also provides more advanced forwarding options. For instance, you can forward all emails sent to any address on your domain (known as a domain forwarder) to a single email address. This is useful if you want to catch any emails sent to misspelled or non-existent addresses.
To set up a domain forwarder, simply go to the Forwarders page and scroll down to Add Domain Forwarder. Enter the domain you want to forward emails from, and specify the destination email address.
Conclusion
Setting up email forwarders in cPanel is a simple and effective way to streamline email management. With just a few clicks, you can ensure that important emails are never missed and that they reach the correct person or department. By following the steps outlined above, you can create and manage email forwarders with ease, improving your productivity and making inbox management a breeze.