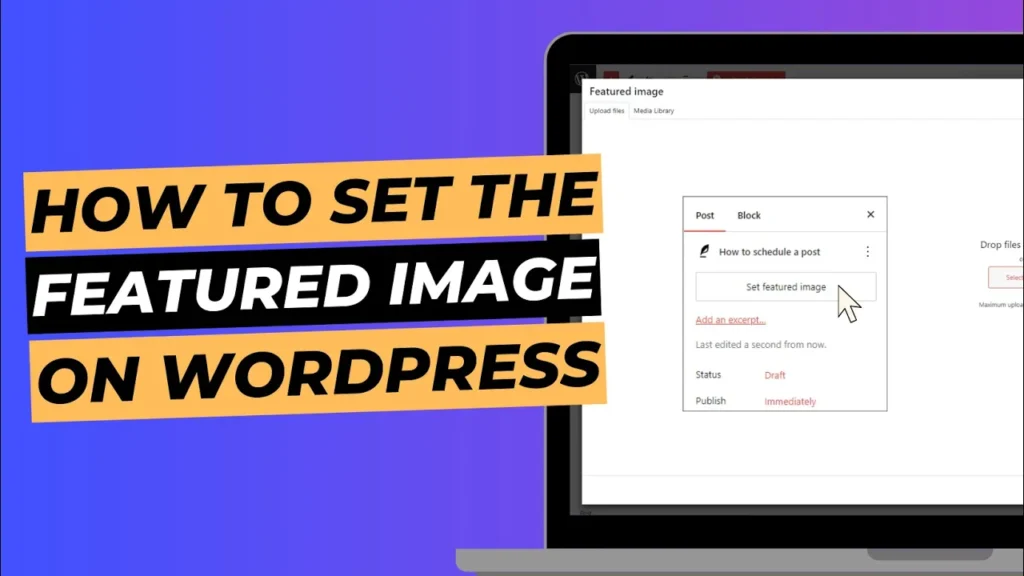
Setting a featured image for your posts and pages in WordPress is a crucial step in enhancing the visual appeal and functionality of your website. Featured images serve as the main visual representation of your content, appearing prominently on your blog, in social media shares, and in various other locations across your site. In this guide, we’ll walk you through the simple process of setting a featured image for both posts and pages in WordPress.
Why Use a Featured Image?
- Visual Appeal: A compelling featured image can make your content more engaging and visually appealing to your audience.
- SEO Benefits: Featured images can help improve your SEO by attracting clicks and shares, and by optimising image alt text.
- Branding: Consistent use of featured images helps establish and reinforce your brand’s visual identity.
- Social Media Sharing: When your content is shared on social media, the featured image is often used as the preview image, which can impact click-through rates.
Step 1: Log in to Your WordPress Dashboard
To get started, log in to your WordPress dashboard by navigating to www.yourdomain.com/wp-admin and entering your username and password.
Step 2: Access the Post or Page Editor
For Posts
- From the dashboard, go to Posts > All Posts.
- Find the post you want to add a featured image to and click Edit.
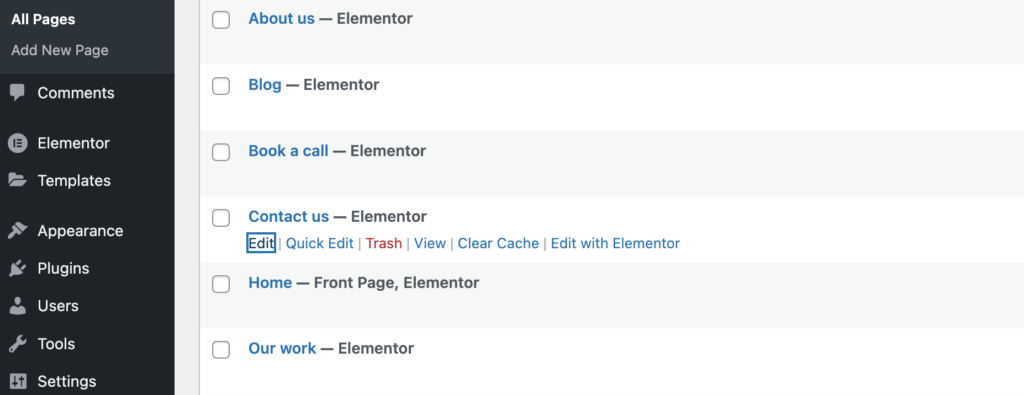
For Pages
- From the dashboard, go to Pages > All Pages.
- Locate the page you want to set a featured image for and click Edit.
Step 3: Add or Edit the Featured Image
Once you’re in the post or page editor, look for the Featured Image section, typically found in the right-hand sidebar.
- If you’re adding a featured image for the first time, click the Set featured image link.
- If you’re changing an existing featured image, click the Replace featured image link.

Step 4: Upload or Select Your Image
A new window will open, allowing you to either upload a new image or choose an existing one from your media library.
To Upload a New Image
- Click the Upload Files tab.
- Drag and drop your image file into the upload area or click Select Files to browse your computer.
- Once the upload is complete, click Set featured image.
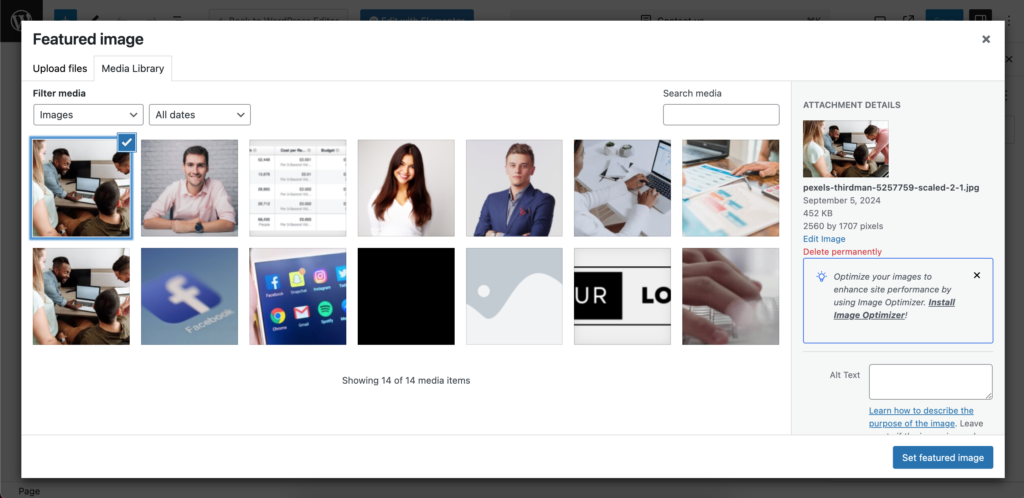
To Select an Existing Image
- Click the Media Library tab.
- Browse through your existing images or use the search bar to find the one you want.
- Click on the image to select it and then click Set featured image.
Step 5: Configure Image Details
After setting the featured image, you can configure its details, including:
- Title: Enter a descriptive title for the image.
- Alt Text: Add alternative text to describe the image for accessibility and SEO purposes.
- Caption: Include a caption if necessary (this will appear below the image).
- Description: Provide a description for the image, which can be helpful for SEO.
Step 6: Save or Update Your Post/Page
After setting your featured image and configuring the details, don’t forget to save your changes:
- Click Update or Publish on the post or page editor to save your changes.

Step 7: Verify Your Featured Image
To ensure that your featured image appears correctly:
- View Post/Page: Click the View Post or View Page button from the editor to see how the featured image appears on your live site.
- Check Different Views: Review how the image looks on various devices and screen sizes to ensure it’s displayed properly.
Bonus Tips for Featured Images
Image Dimensions and Quality
- Size: Ensure your image is the right size for your theme’s requirements. You can check your theme documentation for recommended dimensions.
- Quality: Use high-quality images that are not pixelated or distorted. Compress images if necessary to improve loading times.
Consistency
- Style: Maintain a consistent style for your featured images to enhance your brand’s visual identity.
- Format: Use a common image format (like JPG, PNG, or GIF) that’s compatible with most browsers and devices.
SEO Optimisation
- Alt Text: Include relevant keywords in the alt text to help with SEO and accessibility.
- File Name: Use descriptive file names for your images, incorporating relevant keywords where appropriate.
Conclusion
Setting a featured image for your posts and pages in WordPress is a straightforward process that can greatly enhance your website’s visual appeal and functionality. By following these simple steps, you can ensure that your content stands out and engages your audience effectively.
If you’re hosting your WordPress site with WebPower, you benefit from our optimised hosting environment that ensures fast and reliable performance for all your media needs.

