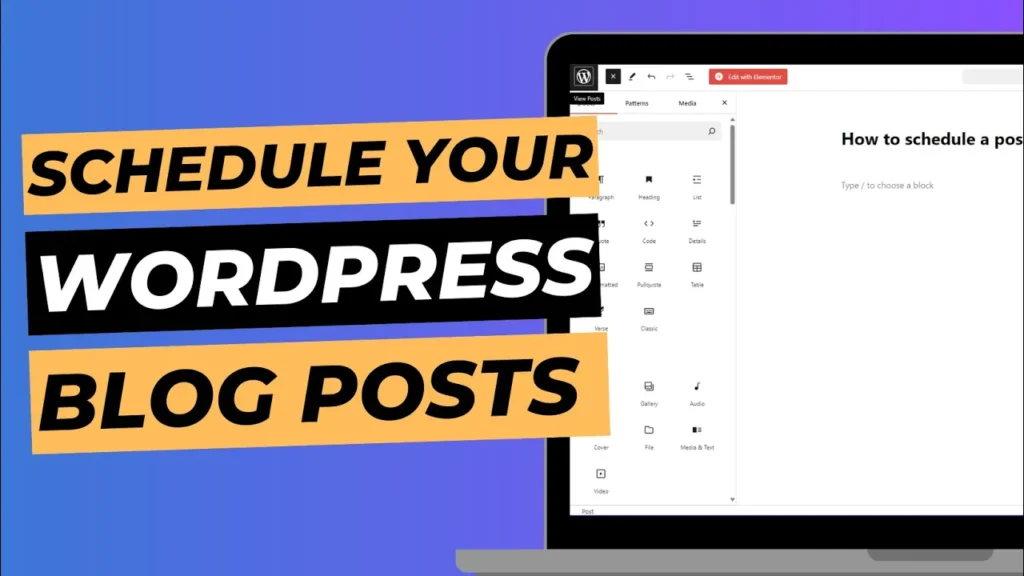
One of the most useful features WordPress offers is the ability to schedule blog posts to go live at a specific date and time. Whether you’re managing a blog or running a website with frequent content updates, scheduling posts can save you time and help you maintain consistency. In this guide, we’ll walk you through how to schedule a post to go live in WordPress.
Why Should You Schedule Blog Posts?
Scheduling posts offers several advantages, including:
- Time Management: You can write content when it’s convenient for you and have it published later.
- Consistency: Keeping a consistent posting schedule can improve engagement and SEO rankings.
- Targeting Specific Times: You can publish posts at optimal times when your audience is most active, even if you’re unavailable.
- Content Planning: Scheduling posts in advance allows you to create a content calendar, ensuring you always have fresh material on your site.
Step 1: Log in to Your WordPress Dashboard
First, log in to your WordPress dashboard. You can do this by navigating to www.yourdomain.com/wp-admin and entering your username and password.
Step 2: Create or Edit a Blog Post
You can schedule any post—whether it’s a new one or an existing draft. Here’s how:
- For a New Post: From the WordPress dashboard, navigate to Posts > Add New.
- For an Existing Post: If you’ve already drafted a post, go to Posts > All Posts. Find the post you want to schedule, and click Edit.

Step 3: Write or Finalise Your Content
Before scheduling, ensure that your post is fully written, formatted, and ready to go live. This includes:
- Adding a title
- Writing your content
- Adding images or media
- Optimising the post for SEO (if applicable)
You can preview your post at any point by clicking the Preview button in the top right corner. This will show you how your post will appear once it’s live on your website.
Step 4: Set the Schedule for Your Post
Now comes the important part: setting the date and time for your post to go live. Here’s how to do it:
- On the right-hand side of the post editor, locate the Publish section.
- By default, it will say Publish immediately. Click the Edit link next to this.
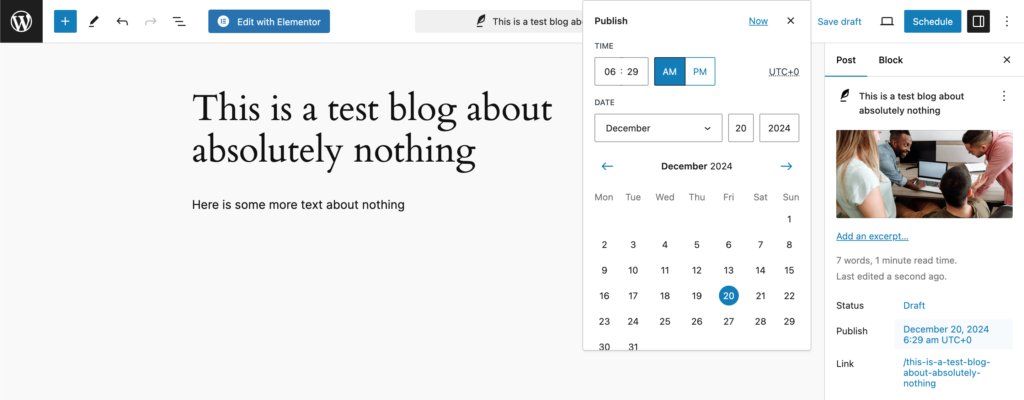
- A small dropdown will appear, allowing you to choose the date and time when you want the post to be published. Set the specific day, month, year, hour, and minute.
- Once you’ve chosen your date and time, click OK.
The Publish button will now change to Schedule. Click the Schedule button to finalise the process.

Step 5: Confirm Your Scheduled Post
After clicking Schedule, WordPress will confirm that your post is now scheduled to go live at the specified time. You’ll see a message at the top of the page confirming this.
To double-check, you can return to Posts > All Posts. You’ll notice that under the Status column, your post will be labelled as Scheduled, along with the date and time it will be published.

Step 6: Managing and Editing Scheduled Posts
If you need to make changes to a scheduled post, it’s simple:
- Go back to Posts > All Posts and find the scheduled post.
- Click Edit to open the post in the editor.
- You can adjust the content, date, or time by following the same steps mentioned above.
If you decide you want the post to go live immediately, you can click Publish immediately in the schedule section and update the post to publish right away.
Cancelling a Scheduled Post
If you change your mind and no longer want the post to be published, you can cancel the scheduling. Simply go to the post, click Edit in the Publish section, and change the status from Scheduled to Draft.
Bonus Tips for Scheduling Posts
Plan Ahead with a Content Calendar
A content calendar can help you manage and organise your posts effectively. You can create a simple spreadsheet or use a plugin like Editorial Calendar to visually schedule and track your content.
Set Up Social Sharing
If you use social media to promote your blog posts, consider setting up automated sharing through plugins like Jetpack or Social Warfare. These plugins can automatically share your scheduled post on your social platforms once it’s live, saving you time and effort.
Combine Scheduling with Email Marketing
If you use email marketing services like Mailchimp or ConvertKit, you can schedule email campaigns to coincide with your blog post’s publication. This can drive traffic and engagement as soon as your post goes live.
Conclusion
Scheduling a post in WordPress is a powerful tool that helps you manage your content efficiently and maintain consistency with your audience. Whether you’re posting during peak traffic hours, going on holiday, or simply planning ahead, WordPress makes it easy to ensure your content is delivered at the right time.
Now that you know how to schedule posts in WordPress, take advantage of this feature to streamline your content strategy and keep your audience engaged, even when you’re not around!

