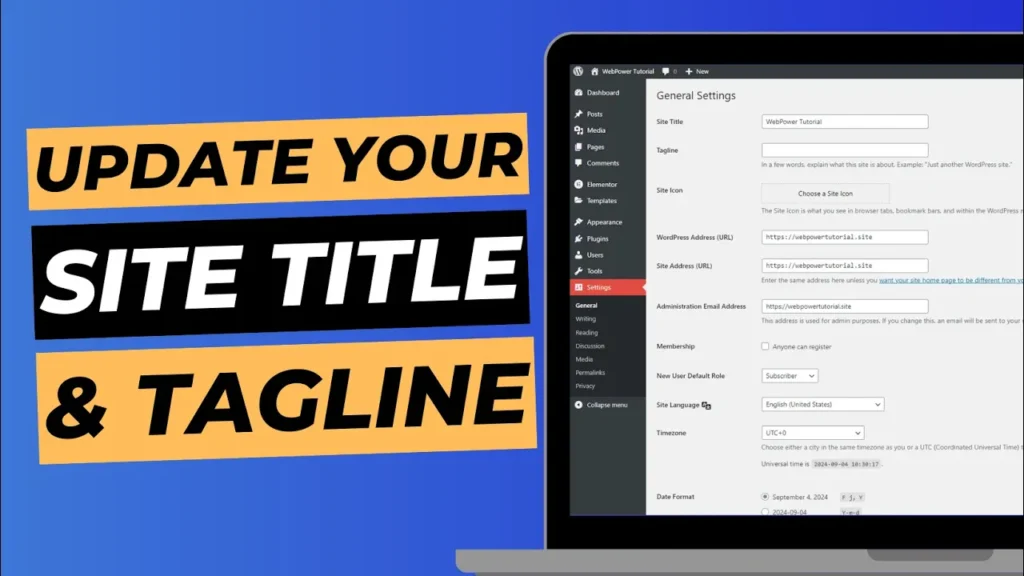
Your site title and tagline are crucial elements of your WordPress website. They define the identity of your site and are often the first things visitors and search engines notice. The site title appears in your browser tab, search engine results, and WordPress header, while the tagline provides a brief description of your site’s purpose or message.
In this guide, we’ll walk you through the steps to change your site title and tagline in WordPress.
Why Are the Site Title and Tagline Important?
- Branding: Your site title is often the name of your business or blog, giving visitors a clear idea of who you are.
- SEO: Both the site title and tagline help search engines understand what your site is about, which can improve your ranking in search results.
- User Experience: A well-crafted site title and tagline create a professional impression, helping visitors quickly understand your website’s purpose.
Step 1: Log in to Your WordPress Dashboard
To get started, log in to your WordPress admin dashboard. You can access this by going to www.yourdomain.com/wp-admin and entering your username and password.
Step 2: Go to General Settings
Once you’re logged in, follow these steps:
- On the left-hand sidebar of your dashboard, hover over Settings.
- Click on General from the drop-down menu.

This will take you to the General Settings page, where you can update your site title and tagline.
Step 3: Update Your Site Title
At the top of the General Settings page, you’ll see a field for Site Title. This is where you can change the name of your website.
- Simply click in the Site Title field and type your new title.
- Make sure your site title accurately reflects your brand or business name.
Step 4: Update Your Tagline
Directly below the Site Title field, you’ll find the Tagline field. By default, WordPress includes the tagline “Just another WordPress site,” but you can customise this to better reflect your site’s purpose.
- Click in the Tagline field and type a brief description or slogan for your website.
- Keep it short and relevant—typically one sentence or a few words that highlight your mission or what your site is about.

Tips for Creating a Great Tagline
- Keep it concise: Your tagline should be no longer than a sentence.
- Include keywords: Consider adding relevant keywords for SEO.
- Be specific: Make it clear what your site offers or the problem it solves.
Step 5: Save Your Changes
After updating your site title and tagline, scroll down to the bottom of the page and click the Save Changes button.

Your updated site title and tagline will now be visible on your website, and they’ll also appear in search engine results.
Step 6: Verify Your Changes
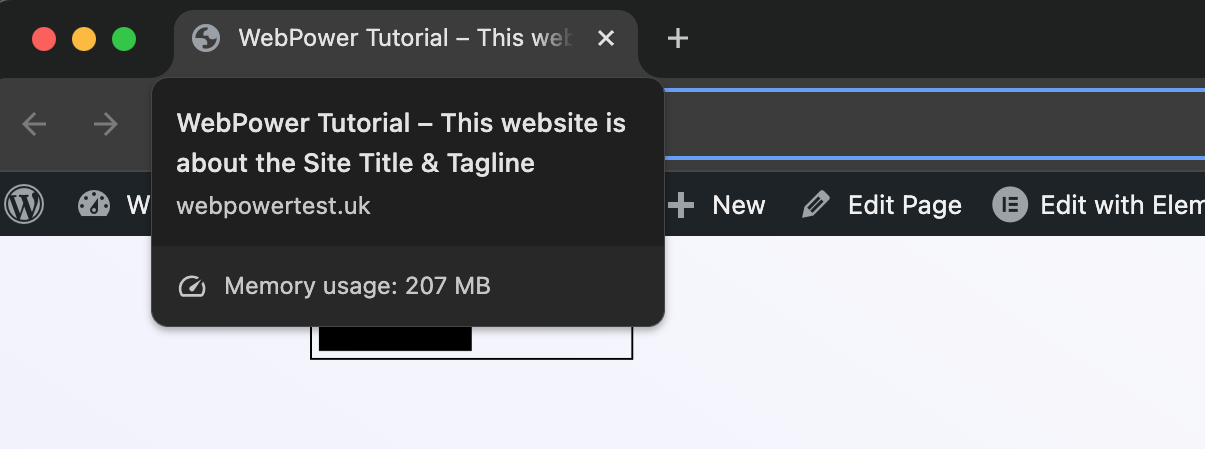
Once you’ve saved your changes, it’s important to verify that your new site title and tagline are displayed correctly on your site and in your browser tab.
- Visit your site: Open your website in a new browser tab to check the updated site title and tagline in the header and footer (if your theme supports it).
- Check browser tab: Your new site title should also appear in the browser tab, which is a key detail for visitors.
Step 7: Check SEO Results (Optional)
To see how your new site title and tagline are indexed by search engines, you can search for your website on Google. It may take a few days for search engines to reflect the changes, but once updated, your new site title and tagline should appear in the search result snippet.
Conclusion
Changing the site title and tagline in WordPress is a simple yet effective way to update your website’s branding and improve your SEO. A compelling site title and tagline help visitors understand what your website is all about and make it easier for search engines to rank you for relevant keywords.
If you’re hosting your site with WebPower, our optimised hosting environment ensures fast, secure performance for WordPress sites, allowing you to manage and update your content with ease.

