Maintaining backups of your cPanel account is crucial for ensuring the safety and integrity of your website’s data. In the event of a data loss or site issue, having a reliable backup can be a lifesaver. With Jet5 Backup, restoring your entire cPanel account can be done quickly and efficiently. In this guide, we’ll show you how to restore your cPanel in just one minute using Jet5 Backup.
Why Regular Backups Are Essential
Before diving into the restoration process, let’s briefly discuss why regular backups are essential:
- Data Protection: Backups protect against data loss due to accidental deletions, server failures, or security breaches.
- Quick Recovery: Having a backup allows for rapid recovery of your website to its previous state with minimal downtime.
- Peace of Mind: Knowing that your data is safely backed up provides peace of mind, allowing you to focus on other aspects of your business.
Step 1: Access Jet5 Backup
To restore your cPanel account using Jet5 Backup, you first need to access the Jet5 Backup tool. This tool simplifies the backup and restoration process, making it easy to manage your data.
How to Access Jet5 Backup:
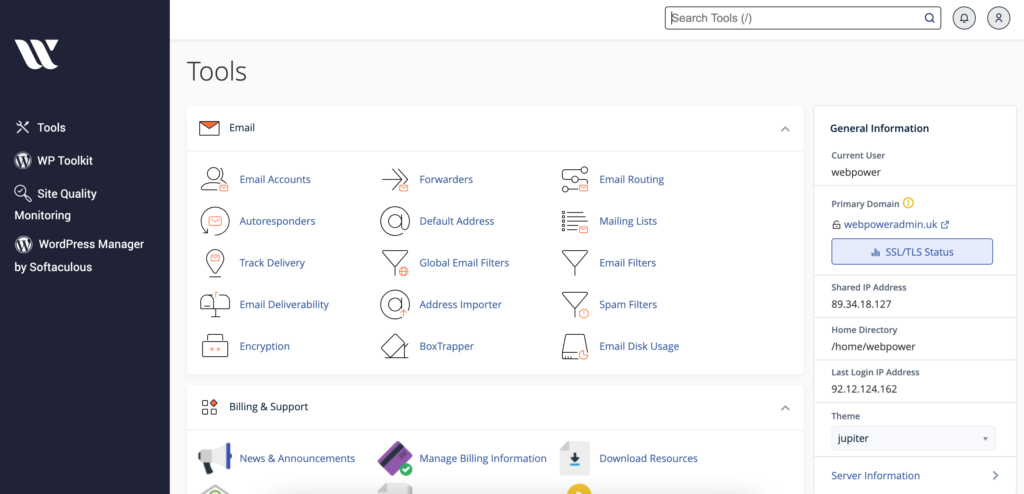
- Log in to Your cPanel: Visit your cPanel login page, typically found at
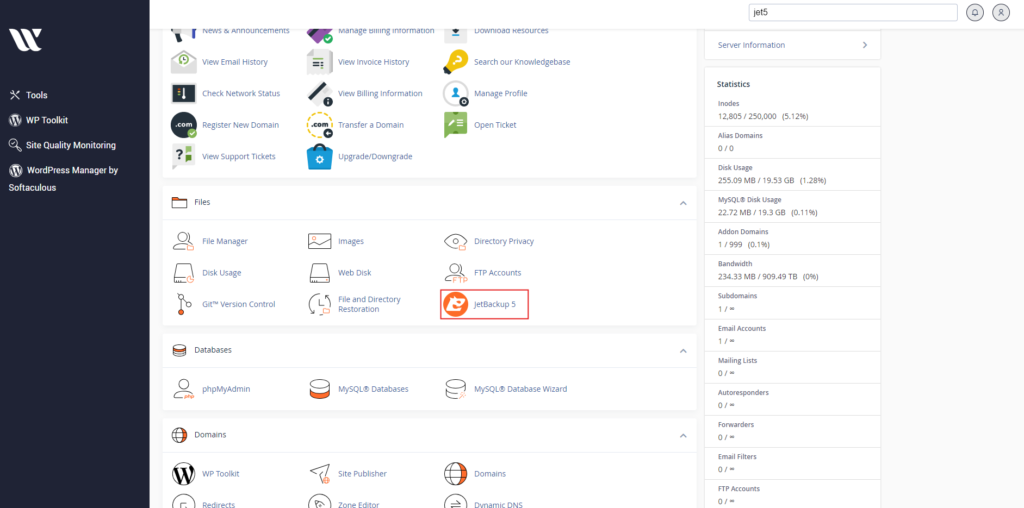
https://yourdomain.co.uk/cpanel, and enter your credentials. - Find Jet5 Backup: Once logged in, locate the Jet5 Backup tool in your cPanel dashboard. It is often listed under the “Files” or “Backup” section.

Step 2: Choose the Backup to Restore
After accessing Jet5 Backup, you need to select the backup file you want to restore. Jet5 Backup usually provides a list of available backups.
How to Select Your Backup:
- Open Jet5 Backup: Click on the Jet5 Backup icon to open the tool.
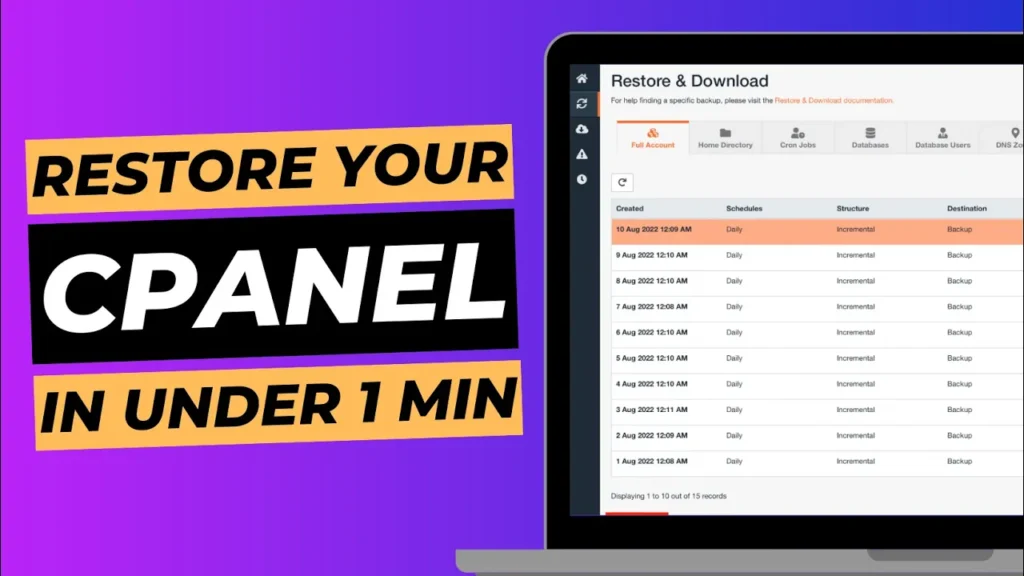
- View Available Backups: In the Jet5 Backup interface, you will see a list of backup files. These files are typically sorted by date, making it easy to choose the most recent backup.
- Select the Backup: Choose the backup file you wish to restore. Make sure it’s the correct one by checking the date and time.
Step 3: Initiate the Restoration Process
Once you have selected the backup file, you can initiate the restoration process. Jet5 Backup simplifies this step to ensure a smooth restoration.
How to Restore Your Backup:
- Click on Restore: After selecting the backup file, click the “Restore” button.
- Confirm the Restoration: You may be prompted to confirm the restoration process. Confirm your choice to proceed.
- Wait for Completion: The restoration process will begin. Jet5 Backup will restore your entire cPanel account, including files, databases, and settings. This process usually takes less than a minute, depending on the size of the backup.
Step 4: Verify the Restoration
After the restoration process is complete, it’s important to verify that everything has been restored correctly.
How to Verify Your Restoration:
- Check Your Website: Visit your website to ensure it is functioning as expected. Check key pages and functionalities to confirm they are working properly.
- Verify Data: Check your files and databases to make sure all data has been restored. Look for any missing files or discrepancies.
- Review Settings: Verify that all settings and configurations are correct, including email accounts and domain settings.

Conclusion
Restoring your entire cPanel account using Jet5 Backup is a quick and straightforward process that can be completed in just one minute. Regular backups are crucial for protecting your data and ensuring that you can recover quickly from any issues that arise.
With Jet5 Backup, managing your backups and restorations is simple, allowing you to focus on running your website without worrying about data loss. If you need further assistance with your backups or restorations, WebPower’s support team is here to help.
Keep your cPanel account secure and your website running smoothly with efficient backup and restoration practices!


