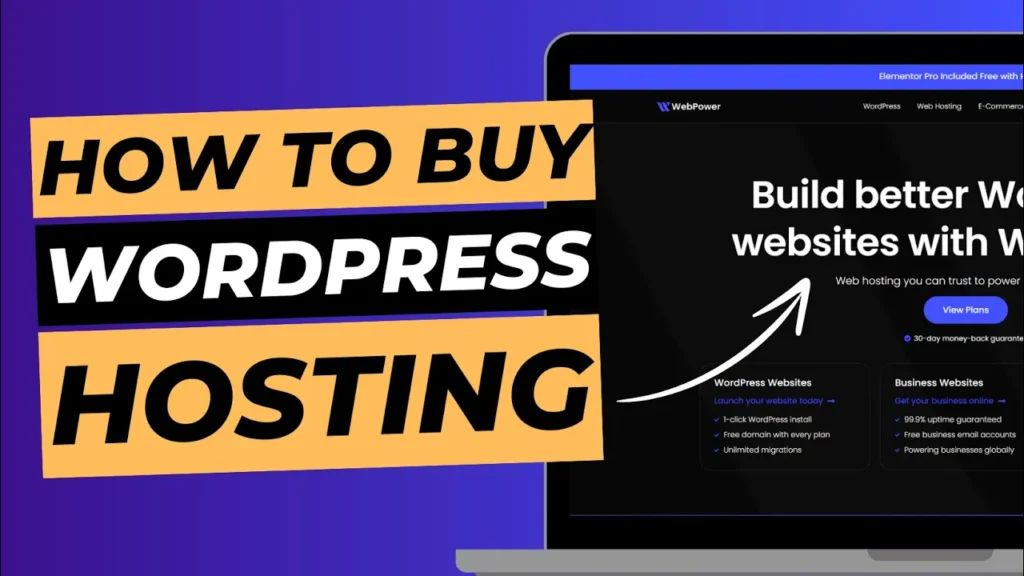
Setting up a WordPress website is the first step toward building an online presence. But before you can install WordPress and start creating your site, you need to purchase a reliable hosting plan. At WebPower, we’ve made the process quick and simple, allowing you to purchase hosting and get your WordPress website up and running in just one minute!
In this guide, we’ll walk you through the process of buying hosting from WebPower so you can get started on your WordPress website without any hassle.
Why You Need Hosting for Your WordPress Website
Before diving into the steps, it’s important to understand why hosting is essential for your WordPress website:
- Server Space: Hosting provides the server space your website needs to store files, databases, and content.
- Accessibility: Without hosting, your website wouldn’t be accessible online. Hosting ensures your site is available 24/7 to visitors.
- Performance and Security: A good hosting provider ensures optimal website performance and robust security features, which are essential for a successful WordPress site.
Now, let’s get started with buying hosting from WebPower.
Step 1: Navigate to WebPower’s Pricing Page
The first step to purchasing hosting for your WordPress website is choosing a plan that suits your needs.
How to Choose a Hosting Plan:
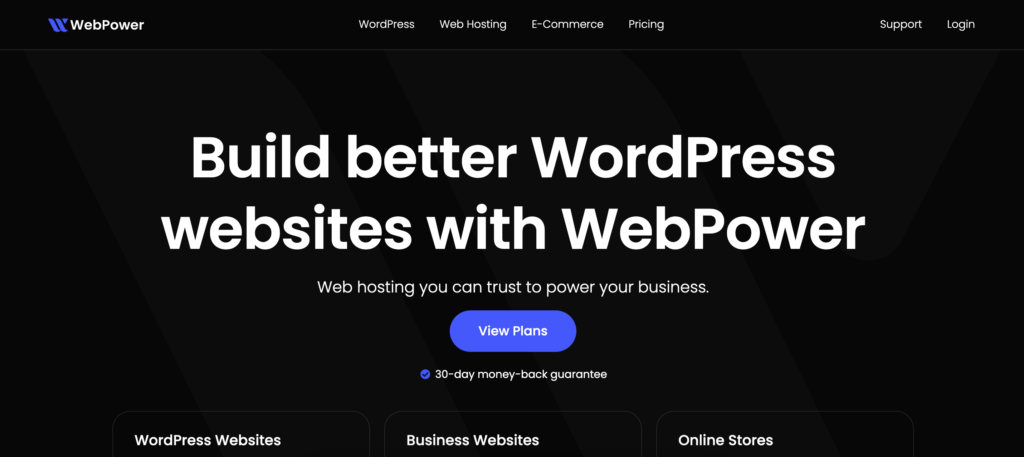
- Visit WebPower’s Pricing Page: Go to WebPower’s hosting page and browse through the different hosting plans.
- Select a Plan: Choose the plan that best fits your website’s requirements. WebPower offers a range of plans, from basic hosting for personal blogs to advanced hosting for business websites. Click on the “Get Started” or “Select Plan” button next to the plan of your choice.
Step 2: Fill Out Domain Details
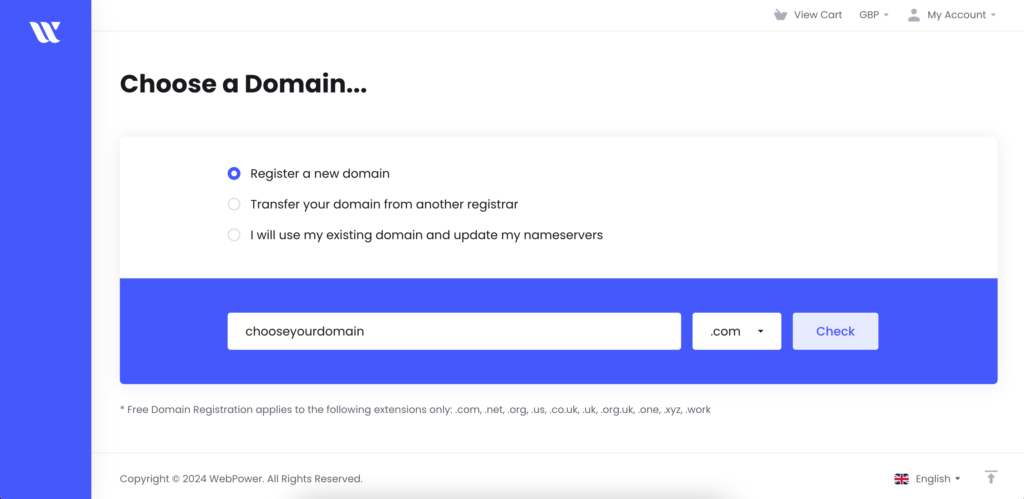
After selecting your hosting plan, you’ll need to either register a new domain or use an existing one.
How to Add Your Domain:
- Choose a Domain Option: On the next page, you’ll be asked to either: Register a new domain, Transfer your domain from another provider, Use an existing domain you already own
- Enter Your Domain Name: If you’re registering a new domain, enter the desired domain name and check if it’s available. If it’s available, proceed to the next step. If not, try different variations until you find one that works.
- Confirm Domain: Once you’ve chosen or entered your domain name, click “Next” to proceed.
Step 3: Enter Your Personal and Payment Details
With your hosting plan and domain selected, it’s time to enter your personal information and payment details.
How to Fill Out Your Information:
- Personal Information: Enter your name, address, and contact details in the form provided. Make sure to double-check for accuracy.
- Payment Information: Enter your payment details, such as your credit or debit card information, or use one of the available payment methods like PayPal.
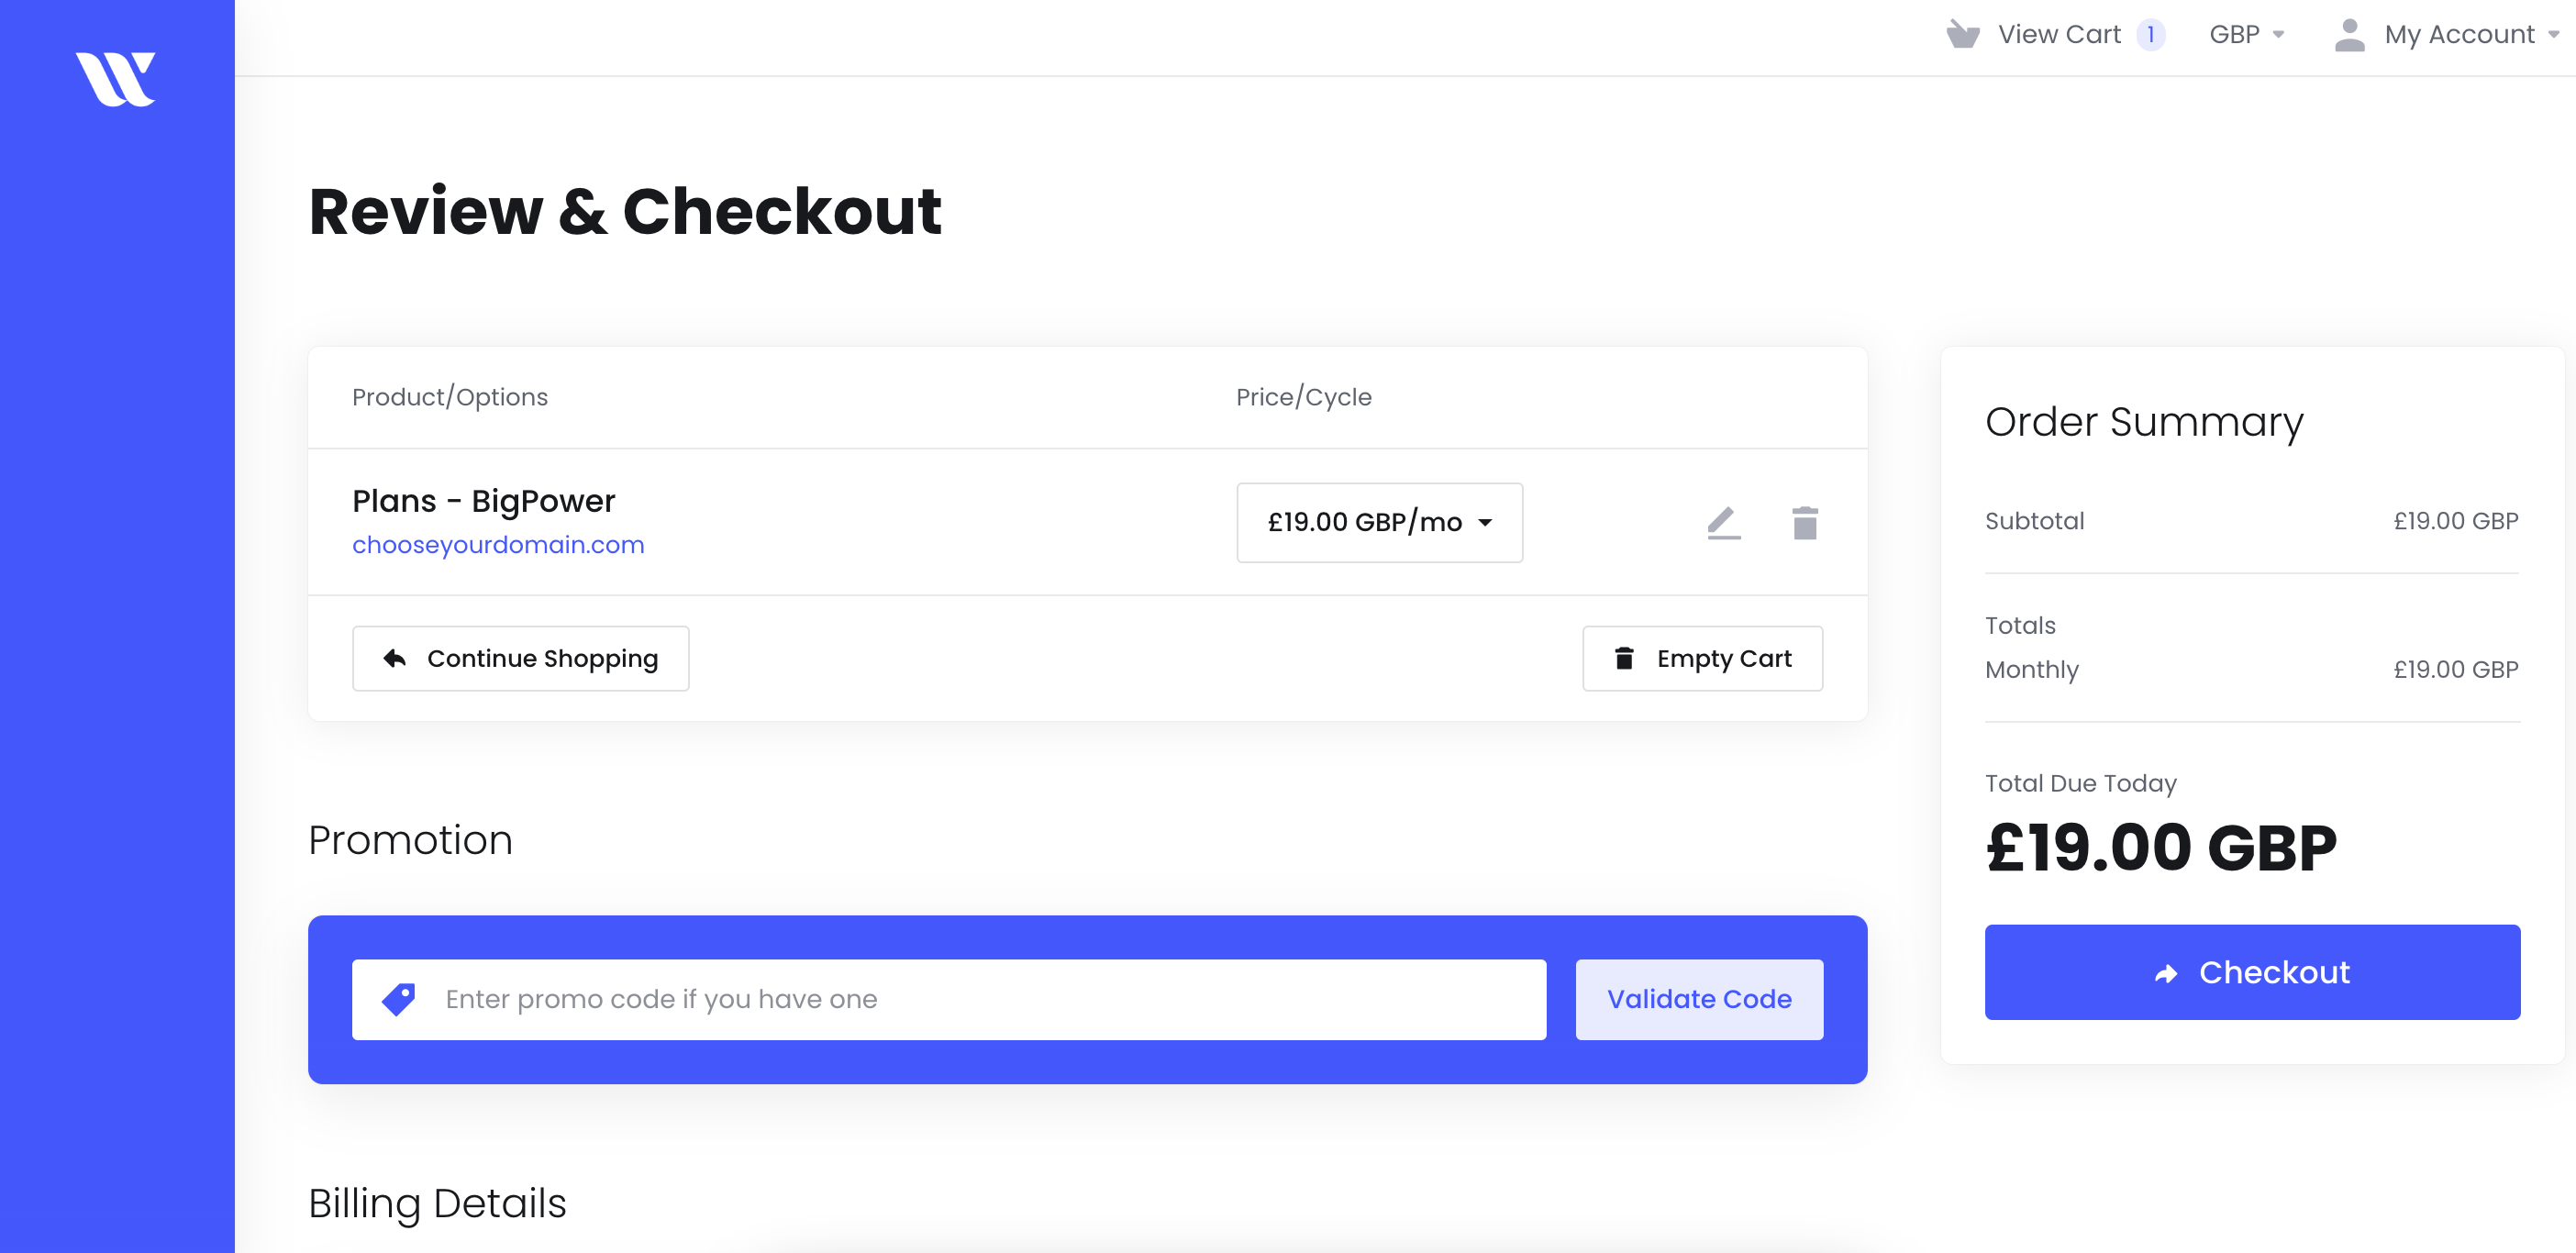
- Review Your Order: Before proceeding, review your order summary to ensure all the details are correct, including your hosting plan, domain, and any additional services like SSL certificates.
Step 4: Complete the Checkout
Once all your details are filled out and confirmed, it’s time to finalise the purchase and set up your hosting.
How to Complete the Checkout:
- Agree to Terms and Conditions: Read and agree to WebPower’s terms and conditions by ticking the appropriate checkbox.
- Click “Checkout”: Finally, click the “Checkout” or “Complete Purchase” button to complete your order.
- Confirmation: Once the transaction is complete, you’ll receive a confirmation email from WebPower, including details of your hosting package and login information for your cPanel account.
Conclusion
And that’s it! In just one minute, you’ve purchased hosting for your WordPress website from WebPower. With your hosting in place, you can now proceed to install WordPress, customise your site, and start building your online presence.
If you ever need help or have any questions during the setup process, WebPower’s support team is always here to assist you.

